The Durability and Longevity of Cast Iron PansIf you’re looking to elevate your cooking game and put your cast iron pan to good use, look no further. This article is packed with mouth-watering recipes and cooking ideas specifically designed for cast iron pans.
From classic cast iron pan pizza, sizzling fajitas, and crispy pan-seared steak, to delicious desserts like skillet brownies and upside-down pineapple cake, you’ll find a range of dishes that will make your taste buds sing.
Whether you’re a seasoned pro or just starting out, these recipes are sure to impress and inspire your culinary adventures in the kitchen.
Classic Cast Iron Pan Pizza
If you’re looking for a delicious and simple homemade pizza, look no further than the classic cast iron pan pizza. This recipe produces a crispy crust with a tender and chewy interior, thanks to the heat retention properties of cast iron.
Plus, using a cast iron pan gives your pizza that perfect golden-brown bottom that you can’t achieve with regular pans.

Preparing the dough
To start, you’ll need to prepare the dough for your pizza. You can use store-bought pizza dough or make your own from scratch.
If you choose to make your own, here’s a simple recipe to follow:
- 2 ½ cups all-purpose flour
- 1 teaspoon instant yeast
- 1 teaspoon salt
- 1 cup warm water
- 1 tablespoon olive oil
In a mixing bowl, combine the flour, yeast, and salt. Gradually add in the warm water and olive oil, mixing until a shaggy dough forms. Turn the dough out onto a lightly floured surface and knead for about 5 minutes until smooth and elastic.
Shape the dough into a ball and let it rest in a warm place for about 1 hour, or until it has doubled in size.
The perfect tomato sauce
While the dough is rising, you can prepare the perfect tomato sauce for your pizza. Here’s a simple recipe to try:
- 1 can (14 ounces) crushed tomatoes
- 2 cloves garlic, minced
- 1 teaspoon dried basil
- 1 teaspoon dried oregano
- Salt and pepper to taste
In a saucepan, heat a tablespoon of olive oil over medium heat. Add the minced garlic and sauté for about 1 minute until fragrant. Pour in the crushed tomatoes and stir in the dried basil and oregano. Season with salt and pepper to taste. Simmer the sauce for about 15 minutes, stirring occasionally.
Choosing your toppings
Now comes the fun part – choosing your favorite toppings for your cast iron pan pizza. You can go with traditional toppings like mozzarella cheese, pepperoni, and mushrooms, or get creative and try something new. Here are some topping ideas to consider:
- Mozzarella cheese
- Pepperoni
- Sausage
- Bell peppers
- Red onions
- Black olives
- Fresh basil
- Pineapple
- Spinach
- Feta cheese
Feel free to mix and match to create your own unique pizza combination. Just make sure to prep your toppings ahead of time, so they’re ready to go once your pizza is assembled.

Cooking the pizza
Now that your dough has risen, your sauce is simmering, and your toppings are prepped, it’s time to cook your cast iron pan pizza. Here’s how:
- Preheat your oven to 500°F (260°C) and place your cast iron pan in the oven to heat up.
- Once the oven and pan are preheated, carefully remove the hot pan from the oven using oven mitts.
- Lightly grease the pan with olive oil or cooking spray to prevent sticking.
- Place the dough in the pan and gently press it out to cover the bottom and slightly up the sides.
- Spread a thin layer of tomato sauce over the dough, leaving a small border around the edges for the crust.
- Add your desired toppings, evenly distributing them over the sauce.
- Carefully transfer the pan back into the hot oven and bake for about 12-15 minutes, or until the crust is golden brown and the cheese is bubbly and melted.
- Once cooked, remove the pan from the oven and let the pizza cool for a few minutes before slicing and serving.
Enjoy your delicious homemade cast iron pan pizza! The combination of the crispy crust, flavorful sauce, and perfectly melted cheese will surely satisfy your pizza cravings.
 Skillet Cornbread
 Skillet Cornbread
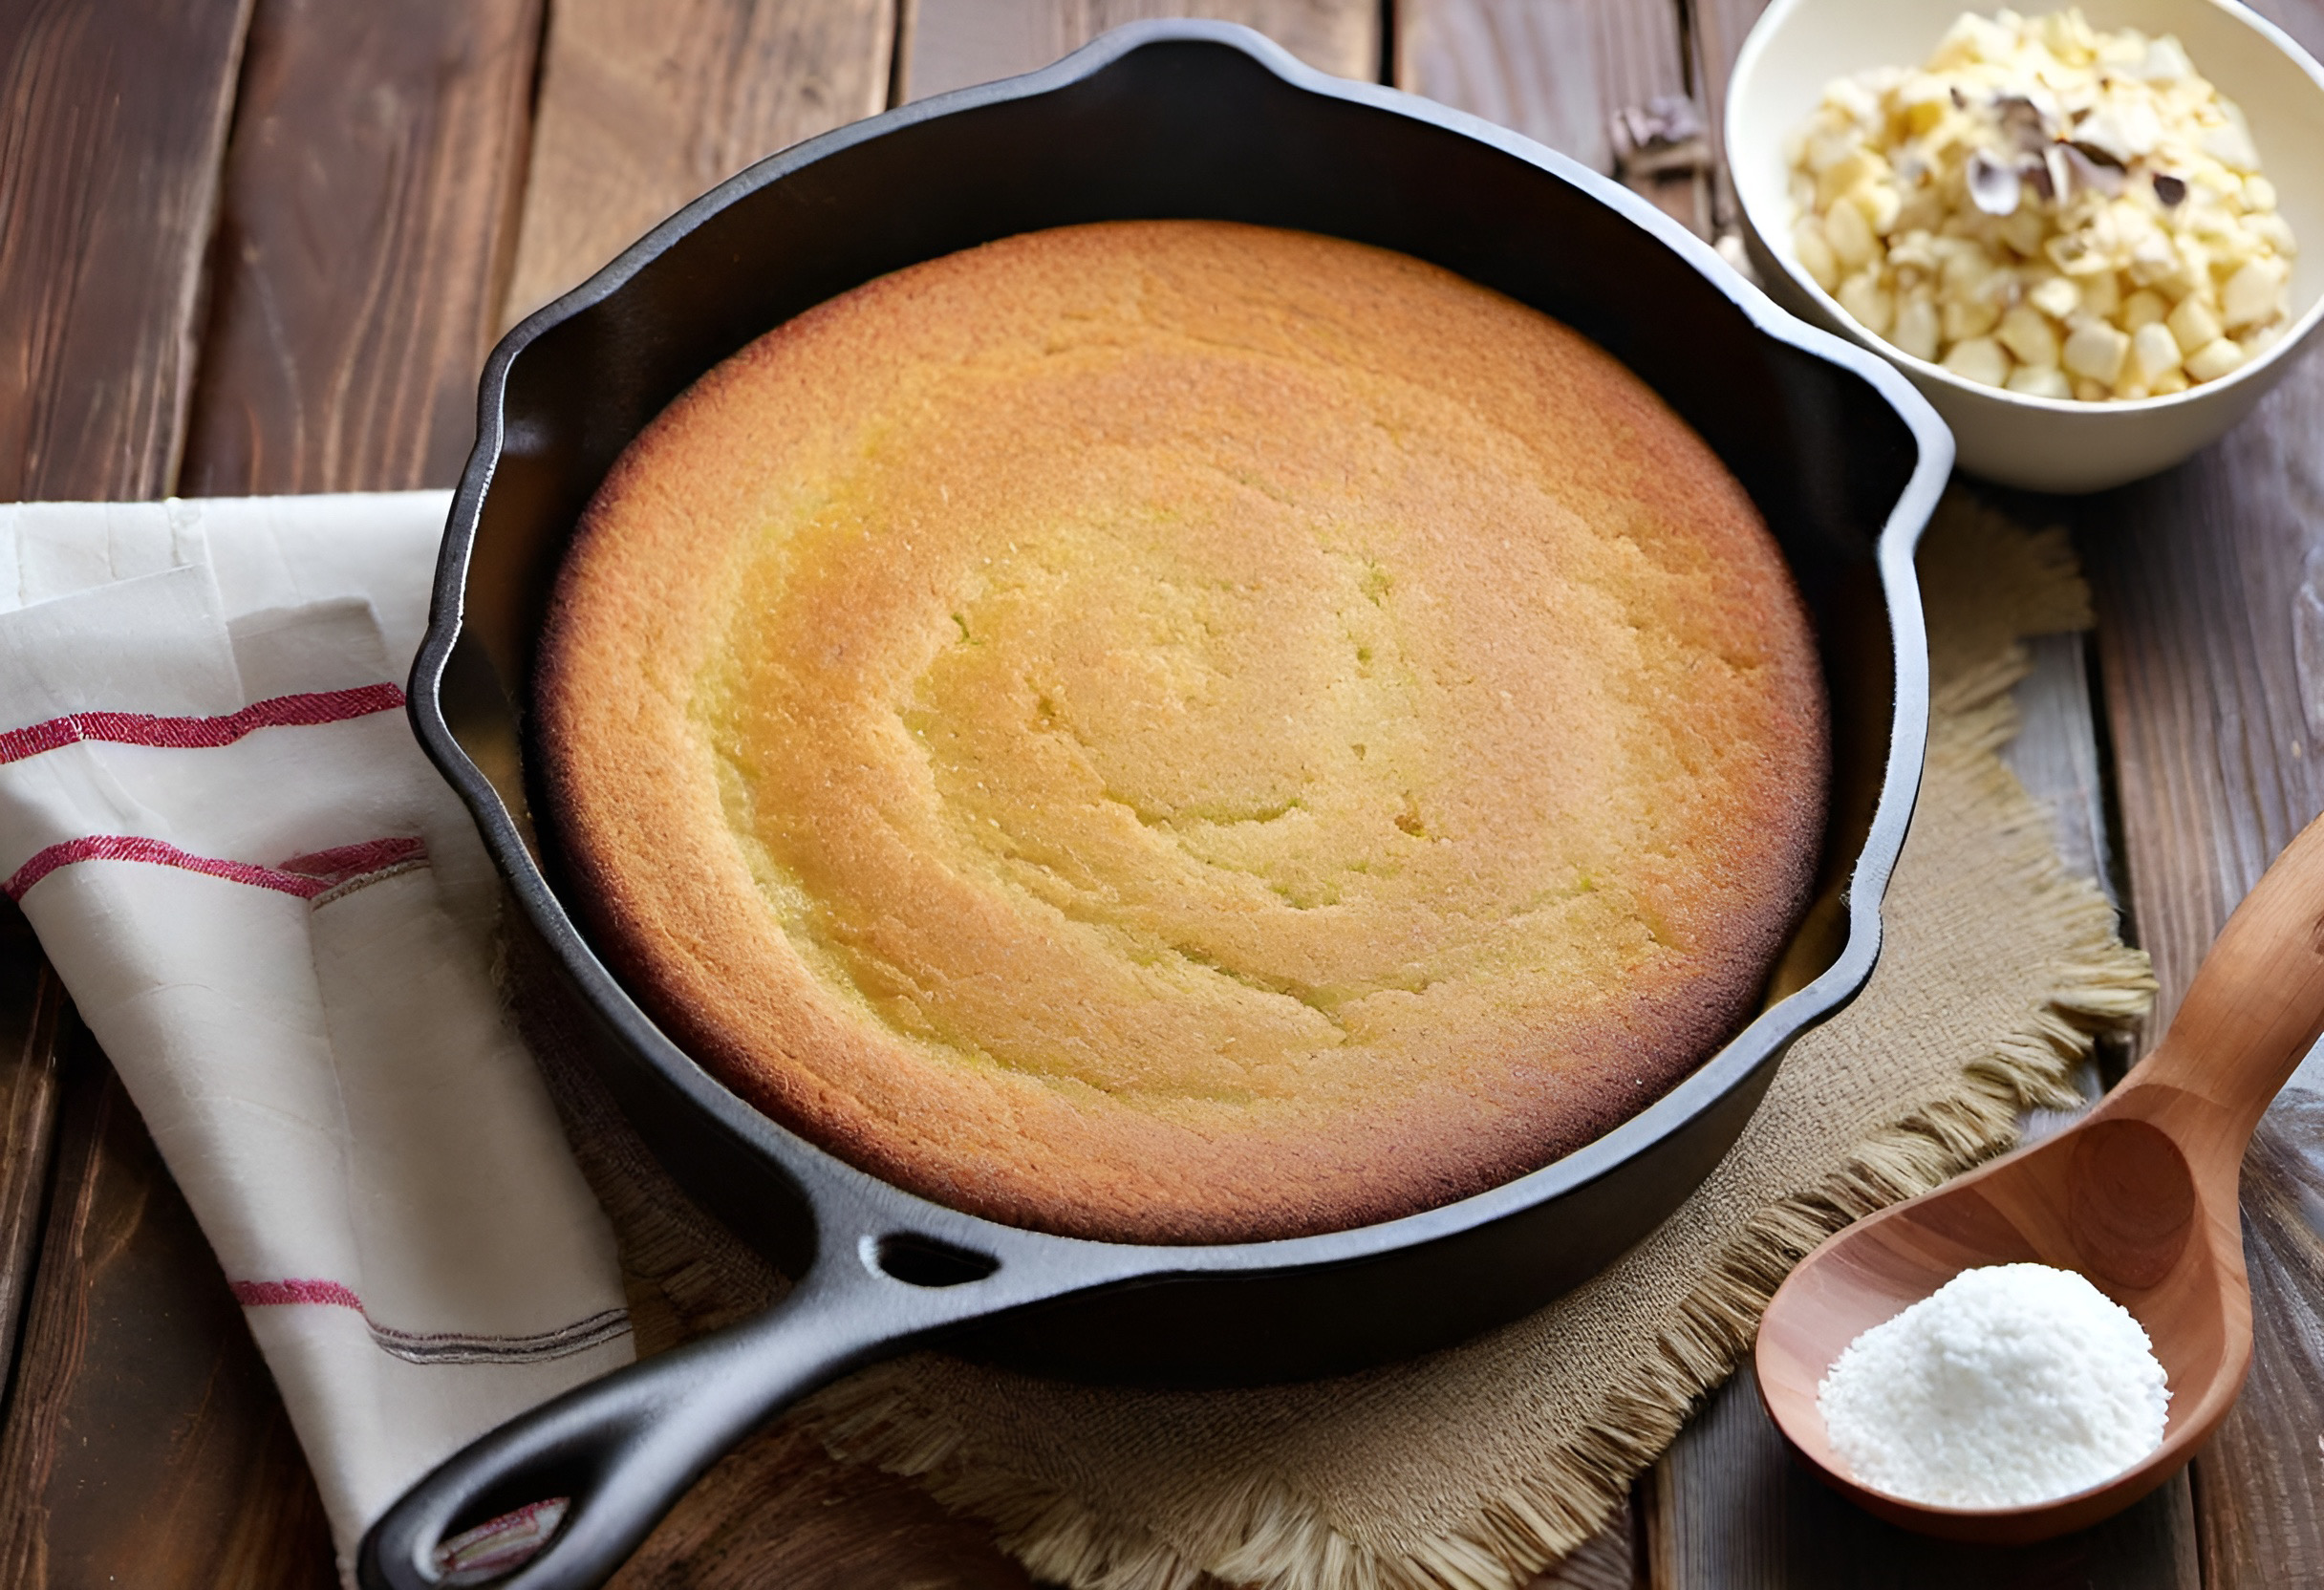
Cornbread is a classic comfort food that pairs perfectly with a bowl of chili or a hearty soup. And when it’s cooked in a cast iron skillet, it takes on a whole new level of flavor and texture. The cast iron skillet helps to create a crispy crust while keeping the inside moist and tender. Here’s how to make skillet cornbread that will have everyone coming back for seconds.
Ingredients
- 1 cup cornmeal
- 1 cup all-purpose flour
- 1 tablespoon baking powder
- 1/2 teaspoon salt
- 1 cup buttermilk
- 1/4 cup melted butter
- 1/4 cup honey
- 1 egg, beaten
Preparing the batter
In a mixing bowl, combine the cornmeal, flour, baking powder, and salt. In a separate bowl, whisk together the buttermilk, melted butter, honey, and beaten egg. Gradually pour the wet ingredients into the dry ingredients, stirring just until combined. Be careful not to overmix, as this can make the cornbread tough.
Cooking the cornbread
Now it’s time to cook your skillet cornbread in your trusty cast iron pan. Here’s what you need to do:
- Preheat your oven to 425°F (220°C).
- Place your cast iron skillet in the oven while it preheats, allowing it to get nice and hot.
- Remove the skillet from the oven and carefully grease it with butter or cooking spray to prevent sticking.
- Pour the cornbread batter into the hot skillet, spreading it out evenly.
- Place the skillet back in the oven and bake for about 20-25 minutes, or until the cornbread is golden brown and a toothpick inserted into the center comes out clean.
- Remove the skillet from the oven and let the cornbread cool for a few minutes before cutting it into slices and serving.
Whether you enjoy your skillet cornbread warm with a pat of butter or alongside your favorite soup or chili, it’s sure to be a hit. The crispy crust and tender, flavorful interior make this cornbread a beloved classic.
One-Pot Cast Iron Chicken and Rice
If you’re in need of a hearty and satisfying meal that can be made in one pot, look no further than this one-pot cast iron chicken and rice recipe. With tender chicken, flavorful rice, and a medley of vegetables, this dish is perfect for a weeknight dinner or a cozy weekend meal.
Ingredients
- 4 bone-in, skin-on chicken thighs
- Salt and pepper to taste
- 1 tablespoon olive oil
- 1 small onion, diced
- 2 cloves garlic, minced
- 1 red bell pepper, diced
- 1 cup long-grain rice
- 2 cups chicken broth
- 1 teaspoon dried thyme
- 1 teaspoon paprika
- 1 cup frozen peas, thawed
Sautéing the chicken
Start by seasoning the chicken thighs with salt and pepper. In a cast iron pan, heat the olive oil over medium-high heat. Carefully add the chicken thighs to the hot pan, skin side down. Sear the chicken for about 5 minutes, or until the skin is golden brown and crispy. Flip the chicken thighs and sear for an additional 2 minutes. Remove the chicken from the pan and set it aside.
Adding the vegetables and rice
In the same cast iron pan, add the diced onion, minced garlic, and diced red bell pepper. Sauté the vegetables until they are soft and fragrant, about 5 minutes. Add the rice to the pan, stirring it to coat it with the oil and vegetables. Toast the rice for a minute or two before adding the chicken broth.
Simmering and finishing
Pour the chicken broth into the pan, along with the dried thyme and paprika. Stir everything together and bring the mixture to a boil. Once it’s boiling, reduce the heat to low and cover the pan with a lid. Let the chicken and rice simmer for about 15-20 minutes, or until the rice is tender and has absorbed the liquid.
Sizzling Cast Iron Fajitas
Fajitas are a crowd-pleasing favorite that are quick and easy to make at home. Cooking them in a cast iron pan adds a delicious sizzle and enhances the flavors of the meat and vegetables. With the right marinade, sautéed peppers and onions, and perfectly cooked meat, you can create restaurant-quality fajitas right in your own kitchen.
Marinating the meat
To start, you’ll need to marinate your meat. You can use chicken, beef, or shrimp for your fajitas – whichever you prefer. Here’s a simple marinade recipe to try:
- 1/4 cup olive oil
- 2 tablespoons lime juice
- 2 cloves garlic, minced
- 1 teaspoon chili powder
- 1 teaspoon cumin
- Salt and pepper to taste
In a bowl, whisk together the olive oil, lime juice, minced garlic, chili powder, cumin, salt, and pepper. Place your meat of choice in a Ziploc bag or shallow dish and pour the marinade over it. Make sure the meat is well coated, then let it marinate in the refrigerator for at least 30 minutes, or up to overnight.
Sautéing the peppers and onions
While your meat is marinating, you can prepare the sautéed peppers and onions – a classic fajita topping. Here’s what you’ll need:
- 1 red bell pepper, thinly sliced
- 1 green bell pepper, thinly sliced
- 1 yellow onion, thinly sliced
- 2 tablespoons olive oil
- Salt and pepper to taste
Heat the olive oil in your cast iron pan over medium-high heat. Add the sliced peppers and onions to the pan and sauté them until they are soft and slightly caramelized about 5-7 minutes. Season with salt and pepper to taste.
Cooking the meat
Once your peppers and onions are cooked, it’s time to cook the marinated meat. Remove the meat from the marinade and shake off any excess liquid. Heat your cast iron pan over high heat and add a drizzle of oil. Place the meat in the hot pan and cook it to your desired level of doneness. This will depend on the type and thickness of the meat you’re using. For chicken or beef, cook until the internal temperature reaches 165°F (75°C) and 145°F (63°C), respectively. For shrimp, cook until they turn pink and opaque.
Assembling and serving
Once your meat is cooked, remove it from the pan and let it rest for a few minutes before slicing it into thin strips. Serve the sizzling meat alongside the sautéed peppers and onions. Warm up some tortillas and set out your favorite toppings such as shredded cheese, guacamole, sour cream, and salsa. Let everyone assemble their own fajitas to their liking, and enjoy the sizzling and flavorful feast!
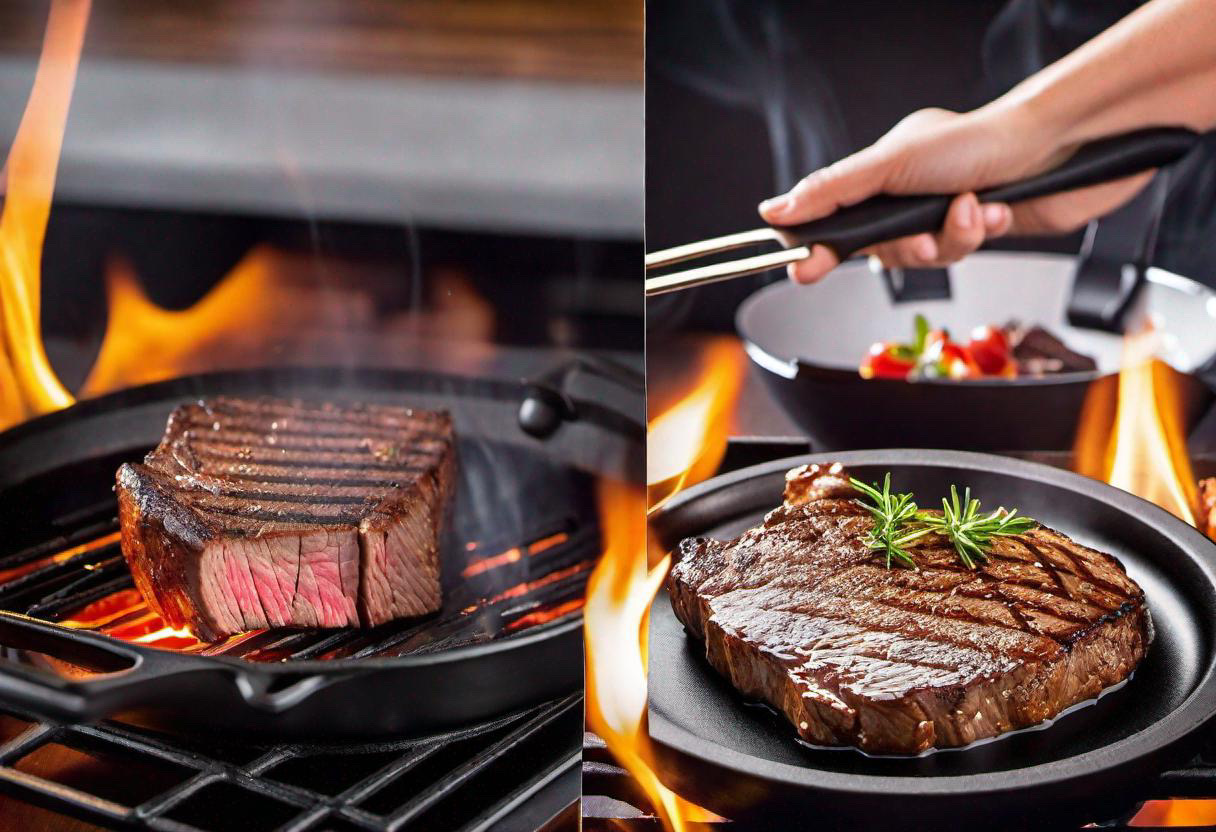
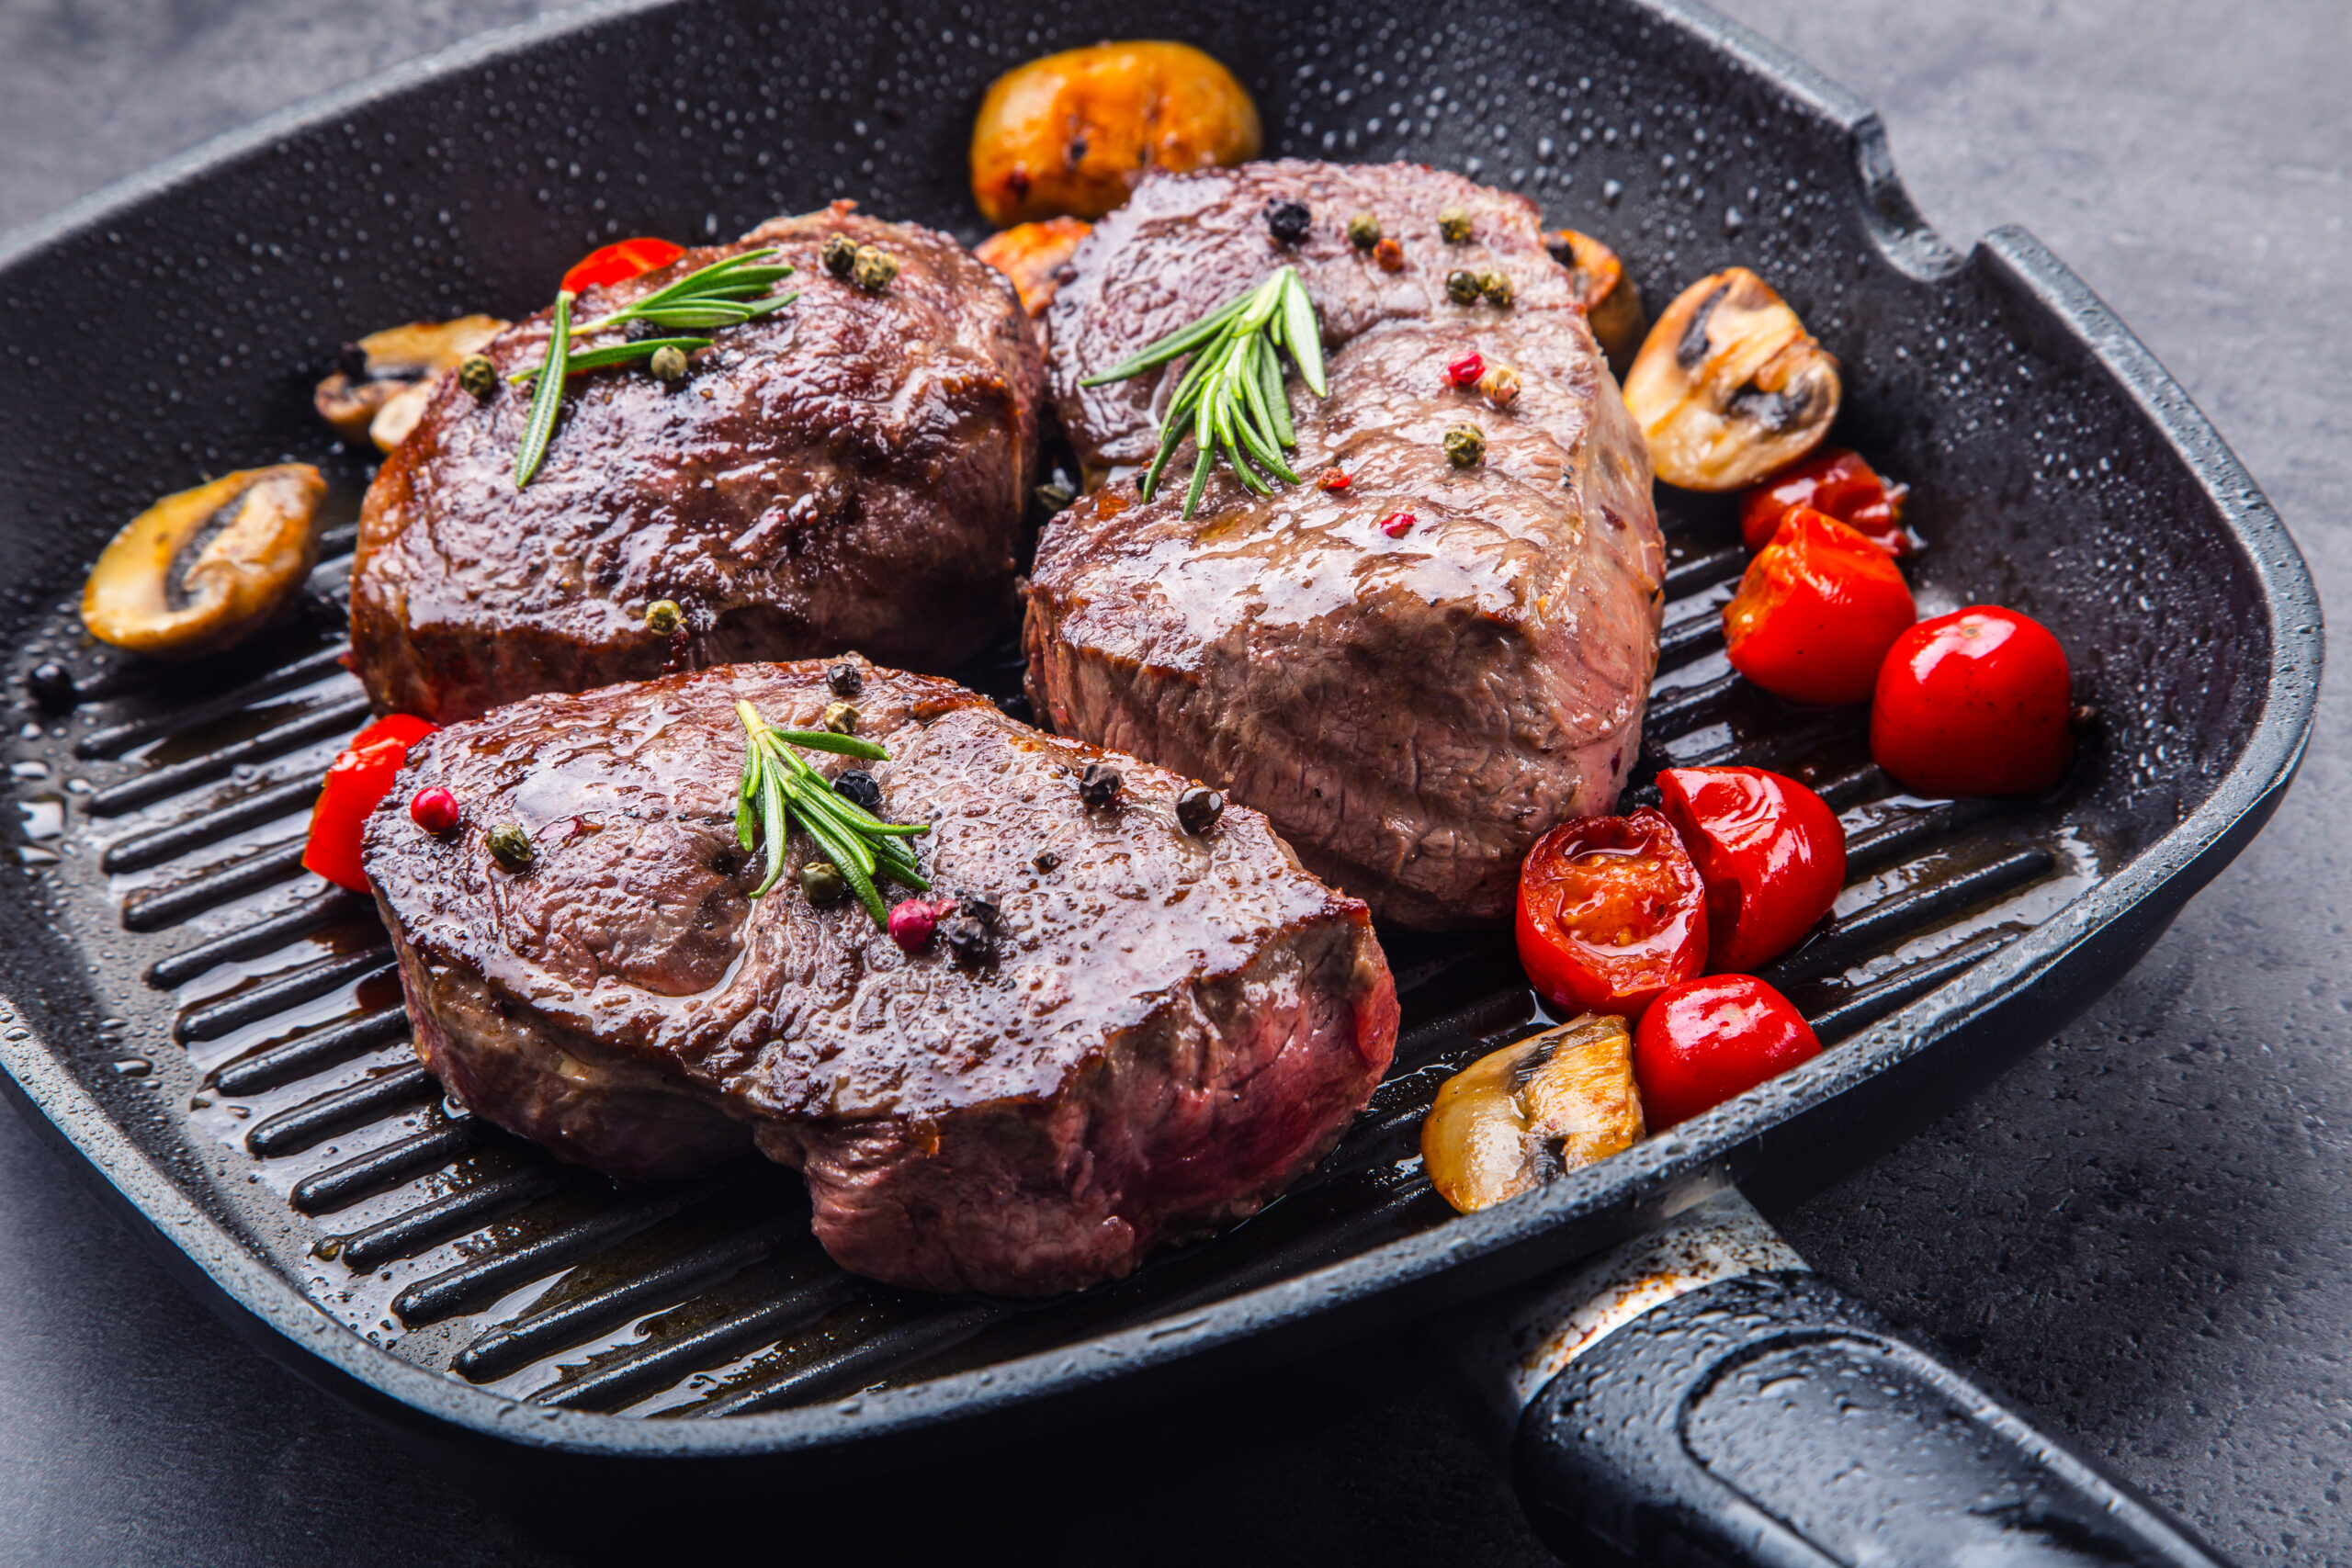
Crispy Cast Iron Pan-Seared Steak
If you want to impress your friends and family with a perfectly seared steak, look no further than this crispy cast iron pan-seared steak recipe. Cooking steak in a cast iron pan gives it a beautiful crust while keeping the inside tender and juicy. Follow these steps, and you’ll have a restaurant-quality steak right at home.
Choosing the right cut of steak
The first step in making an amazing cast iron pan-seared steak is choosing the right cut of meat. While you can use any steak cut you prefer, it’s best to choose a thicker, more marbled cut, such as ribeye or New York strip. The marbling will help keep the steak juicy and flavorful during the high-heat cooking process.
Seasoning and resting the steak
Before searing your steak, you’ll want to season it generously with salt and pepper. You can also add any additional seasonings or spices that you enjoy, such as garlic powder, paprika, or rosemary. Once seasoned, let the steak rest at room temperature for about 30 minutes. This allows the steak to come to room temperature, which promotes even cooking.
Searing the steak
To sear the steak, you’ll need a very hot cast iron pan. Preheat your pan over high heat until it’s smoking hot. Pat the steak dry with paper towels to remove any excess moisture, as this will prevent proper browning. Once the pan is hot, add a drizzle of oil and carefully place the steak in the pan. Let it sear for about 3-4 minutes on each side, without moving it, to achieve a nice crust. For medium-rare steak, cook until the internal temperature reaches 130°F (54°C), using an instant-read thermometer.
Finishing in the oven
If you prefer your steak cooked to a higher internal temperature, or if your steak is particularly thick, you can finish cooking it in the oven. Transfer the seared steak to a preheated oven at 400°F (200°C) and continue cooking until it reaches your desired level of doneness. Keep in mind that the internal temperature will rise a few degrees as the steak rests.
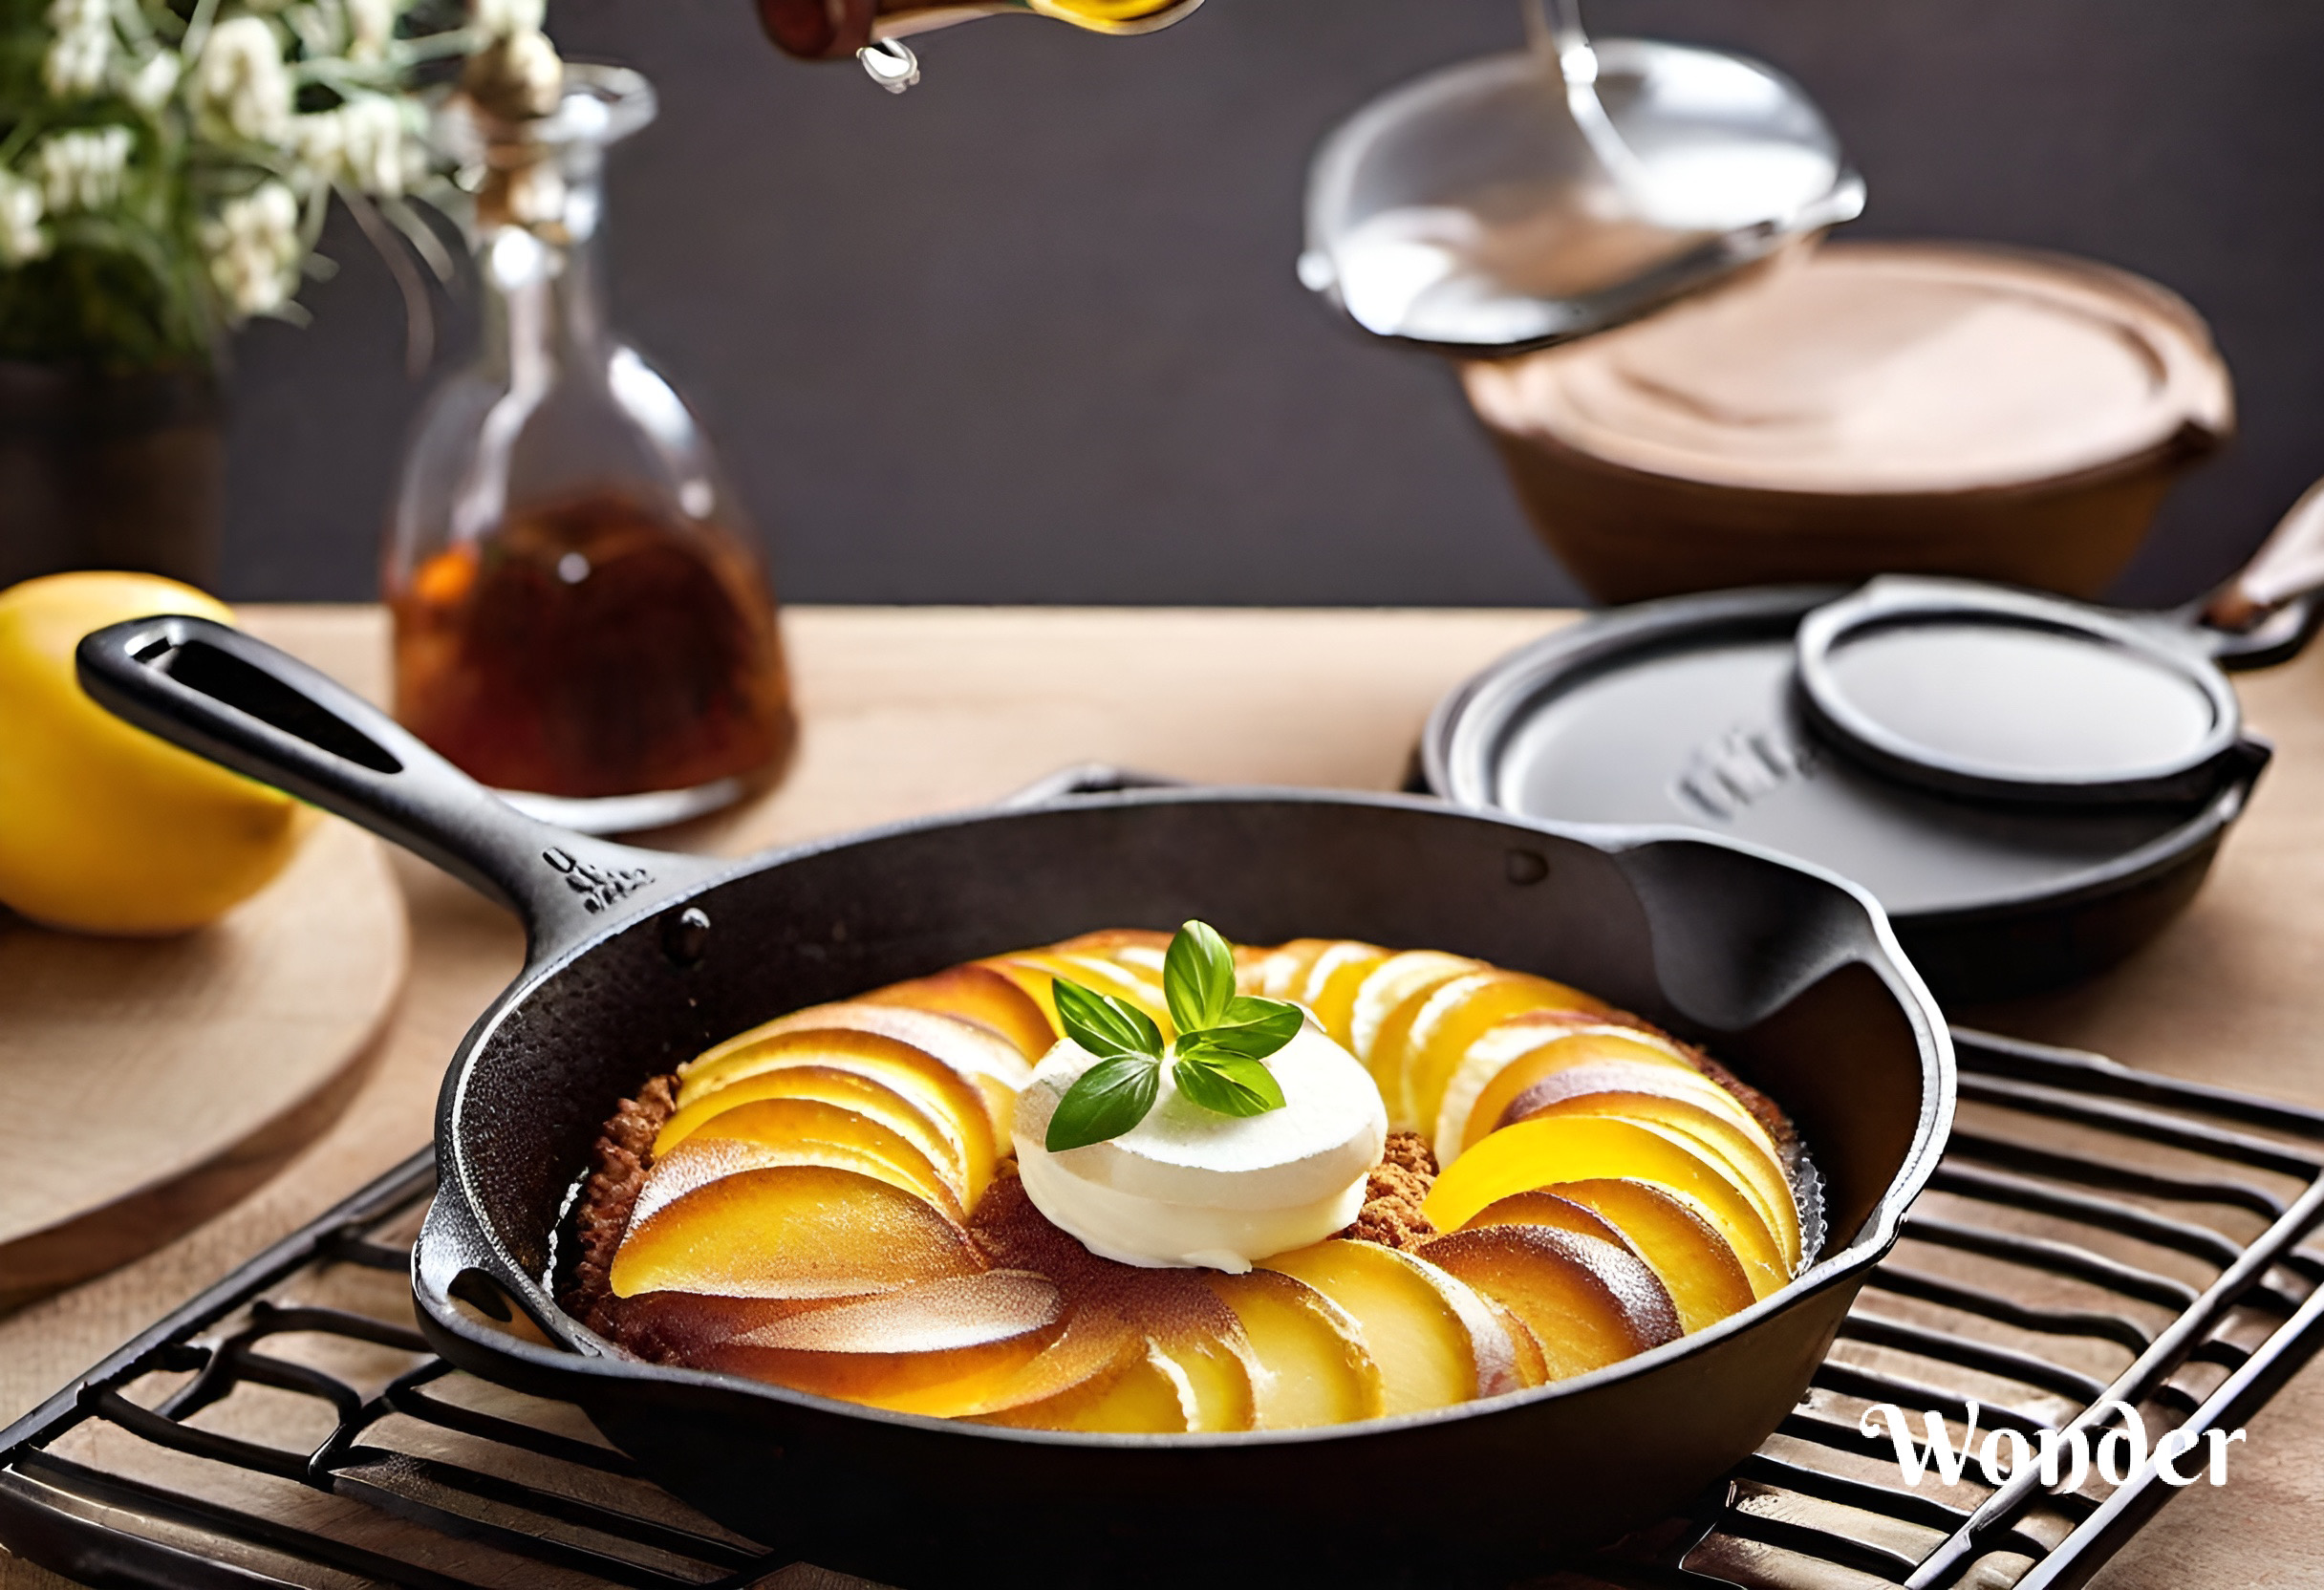
Cast Iron Apple Crisp
When it comes to fall desserts, it’s hard to beat a warm and comforting apple crisp. And when it’s baked in a cast iron pan, it takes on an extra level of deliciousness. The cast iron pan helps to create a caramelized crust while keeping the apples tender and juicy. Here’s how to make a cast iron apple crisp that’s perfect for any autumn occasion.
Ingredients
- 4 cups apples, peeled, cored, and sliced
- 1 tablespoon lemon juice
- 1/2 cup all-purpose flour
- 1/2 cup rolled oats
- 1/2 cup brown sugar
- 1/2 teaspoon ground cinnamon
- 1/4 teaspoon ground nutmeg
- 1/4 teaspoon salt
- 1/2 cup cold butter, cut into small pieces
Preparing the apple filling
Start by preheating your oven to 375°F (190°C). In a mixing bowl, toss the sliced apples with the lemon juice to prevent browning. Transfer the apples to your cast iron pan, spreading them out evenly.
Making the crisp topping
In a separate bowl, combine the flour, rolled oats, brown sugar, cinnamon, nutmeg, and salt. Mix well to evenly distribute the ingredients. Add the cold butter pieces to the bowl and use your fingers or a pastry cutter to cut the butter into the dry ingredients. Continue working the mixture until it resembles coarse crumbs.
Baking and serving
Sprinkle the crisp topping over the apples in the cast iron pan, covering them completely. Place the pan in the preheated oven and bake for about 30-35 minutes, or until the topping is golden brown and the apples are tender. Remove the pan from the oven and let the apple crisp cool for a few minutes before serving.
Serve the warm cast iron apple crisp with a scoop of vanilla ice cream or a dollop of whipped cream for extra indulgence. The combination of sweet and tart apples, buttery crisp topping, and creamy accompaniment is absolutely irresistible.
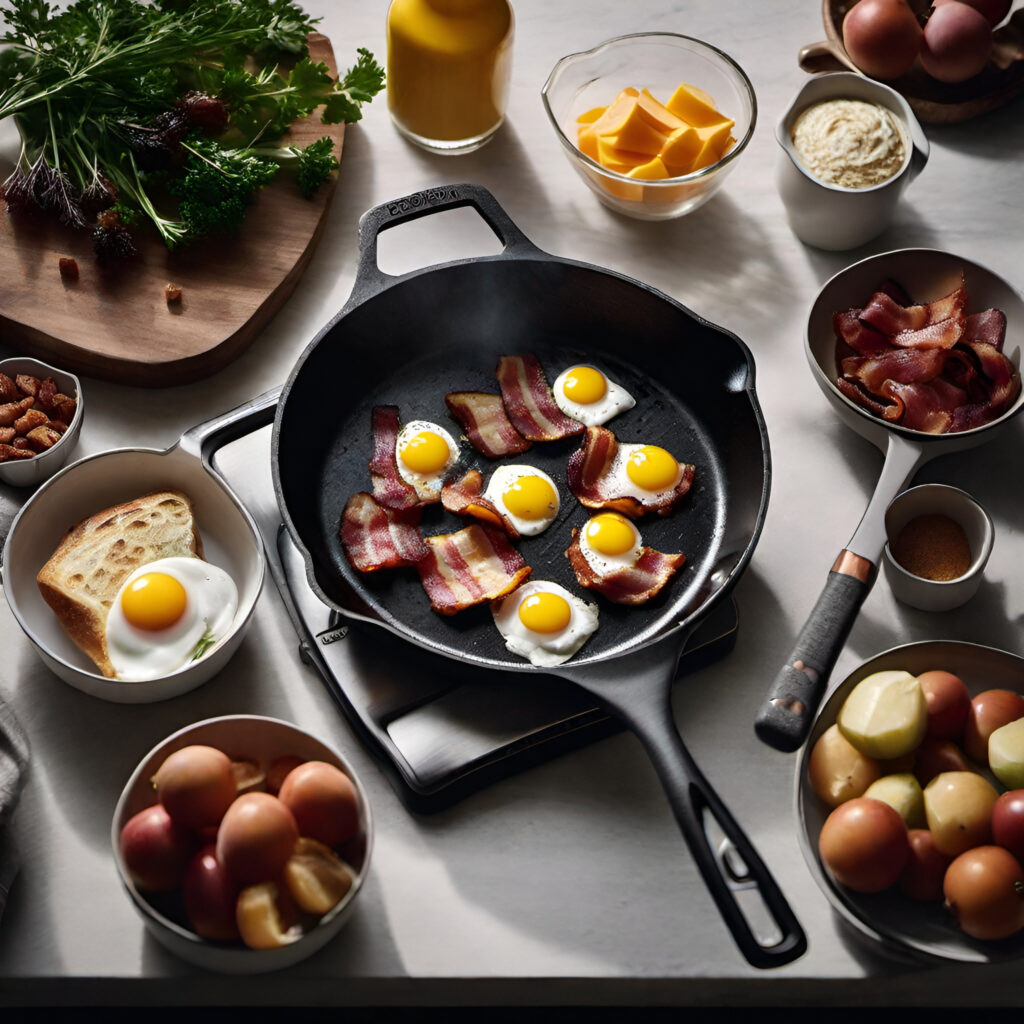
Cast Iron Pan Breakfast Hash
Start your day off right with a hearty and flavorful breakfast hash cooked in a cast iron pan. This one-pan breakfast dish is versatile and customizable, allowing you to use up any leftover ingredients you have on hand. With crispy potatoes, savory meat, and perfectly cooked eggs, this breakfast hash will become a new family favorite.
Ingredients
- 4 cups diced potatoes
- 1/2 cup diced onion
- 1/2 cup diced bell pepper
- 1/2 cup diced cooked bacon or sausage
- Salt and pepper to taste
- 4 eggs
Cooking the hash
Start by heating your cast iron pan over medium heat. Add a drizzle of oil and let it heat up. Add the diced potatoes to the pan and cook them until they are golden brown and crispy, stirring occasionally. This will take about 15-20 minutes, depending on the size of your potato dice.
Once the potatoes are cooked, add the diced onion, bell pepper, and cooked bacon or sausage to the pan. Stir everything together, season with salt and pepper to taste, and let the mixture cook for another 5-7 minutes until the onions and peppers are softened.
Adding eggs and toppings
Once the hash is cooked to your liking, create four wells in the pan by pushing the potato mixture aside with a spatula. Crack an egg into each well, being careful not to break the yolks.
Continue cooking the hash and eggs over medium heat until the eggs are cooked to your desired level of doneness. If you prefer your eggs over-easy or over-medium, you can cover the pan with a lid to help cook the tops of the eggs without flipping them.
Once the eggs are cooked, remove the pan from the heat and serve the breakfast hash immediately. You can garnish it with fresh herbs like chives or parsley, or sprinkle some shredded cheese over the top.
This one-pan wonder is a delicious and filling breakfast option that’s sure to satisfy your morning cravings.
Cast Iron Pan Roasted Vegetables
Roasted vegetables are a simple and healthy side dish that goes well with almost any meal. And when cooked in a cast iron pan, they develop a beautiful caramelized exterior while remaining tender on the inside. With a few simple tips, you can achieve perfectly roasted vegetables every time.
Choosing your vegetables
The first step in making cast iron pan roasted vegetables is selecting the right veggies. Choose a variety of vegetables that cook well at similar temperatures and have similar cooking times. Some great options include:
- Brussels sprouts
- Carrots
- Cauliflower
- Sweet potatoes
- Bell peppers
- Zucchini
- Red onion
- Asparagus
- Cherry tomatoes
Feel free to mix and match to create your own colorful and flavorful vegetable medley.
Seasoning and preparing
Once you’ve chosen your vegetables, it’s time to season and prepare them for roasting. Start by preheating your oven to 425°F (220°C). Wash and chop your vegetables into bite-sized pieces, making sure they are all roughly the same size for even cooking.
Toss the vegetables in a bowl with olive oil, salt, and pepper until they are well coated. You can also add any additional seasonings or spices that you enjoy, such as garlic powder, rosemary, or smoked paprika.
Roasting in the cast iron pan
Next, transfer the seasoned vegetables to your preheated cast iron pan. Make sure they are spread out in an even layer, with some space between each piece. This allows the vegetables to roast and caramelize properly.
Place the cast iron pan in the oven and roast the vegetables for about 30-35 minutes, or until they are tender and browned.
Stir the vegetables halfway through the cooking time to ensure even browning. Keep an eye on them towards the end of the cooking time to prevent burning.
Once the vegetables are done, remove the pan from the oven and let them cool for a few minutes before serving. The roasted vegetables can be enjoyed as a side dish on their own or used in wraps, salads, or grain bowls.
Their sweet and savory flavors and crispy exteriors make them a delicious addition to any meal.
Cast Iron Pan Dessert Recipes
Did you know that your trusty cast iron pan can also be used to create mouthwatering desserts? From gooey brownies to fruity cobblers, the possibilities are endless. Here are a few cast iron pan dessert recipes to satisfy your sweet tooth.

Cast Iron Skillet Brownies
Love brownies? You’ll love them even more when they’re baked in a cast iron skillet. The cast iron pan helps to create a crispy edge and a moist and fudgy center. Here’s a simple recipe to try:
- 1 cup unsalted butter, melted
- 2 cups granulated sugar
- 4 large eggs
- 1 teaspoon vanilla extract
- 3/4 cup all-purpose flour
- 1/2 cup cocoa powder
- 1/4 teaspoon salt
- 1 cup chocolate chips
Preheat your oven to 350°F (175°C). In a mixing bowl, whisk together the melted butter, sugar, eggs, and vanilla extract. In a separate bowl, whisk together the flour, cocoa powder, and salt. Gradually add the dry ingredients to the wet ingredients, stirring just until combined. Fold in the chocolate chips. Pour the batter into a greased cast iron skillet and smooth the top.
Bake for about 25-30 minutes, or until a toothpick inserted into the center comes out with a few fudgy crumbs. Let the brownies cool before slicing and serving.
Upside-Down Pineapple Cake
For a tropical twist, try making an upside-down pineapple cake in your cast iron pan. The caramelized pineapple and buttery cake make for a delectable dessert. Here’s how to make it:
- 1/4 cup unsalted butter, melted
- 2/3 cup packed brown sugar
- 7-8 pineapple rings, drained
- 7-8 maraschino cherries
- 1 1/2 cups all-purpose flour
- 3/4 cup granulated sugar
- 2 teaspoons baking powder
- 1/2 teaspoon salt
- 1/2 cup unsalted butter, softened
- 2/3 cup milk
- 2 large eggs
- 1 teaspoon vanilla extract
Preheat your oven to 350°F (175°C). Pour the melted butter into a greased cast iron skillet. Sprinkle the brown sugar evenly over the butter. Arrange the pineapple rings over the brown sugar and place a maraschino cherry in the center of each ring.
In a mixing bowl, whisk together the flour, granulated sugar, baking powder, and salt. Add the softened butter, milk, eggs, and vanilla extract, and mix until smooth. Pour the batter over the pineapple rings in the skillet, spreading it out evenly.
Bake for about 35-40 minutes, or until a toothpick inserted into the center comes out clean. Let the cake cool for a few minutes before inverting it onto a serving plate. Serve warm or at room temperature.
Skillet Chocolate Chip Cookie
Make everyone’s favorite cookie in a single giant skillet with this skillet chocolate chip cookie recipe. The crispy edges and soft, gooey center will have everyone coming back for seconds. Here’s what you’ll need:
- 1 cup unsalted butter, softened
- 3/4 cup granulated sugar
- 3/4 cup packed brown sugar
- 2 large eggs
- 1 teaspoon vanilla extract
- 2 1/4 cups all-purpose flour
- 1 teaspoon baking soda
- 1/2 teaspoon salt
- 2 cups chocolate chips
Preheat your oven to 375°F (190°C). In a mixing bowl, cream together the softened butter, granulated sugar, and brown sugar until light and fluffy. Add the eggs one at a time, beating well after each addition.
Stir in the vanilla extract. In a separate bowl, whisk together the flour, baking soda, and salt. Gradually add the dry ingredients to the wet ingredients, stirring just until combined.
Fold in the chocolate chips. Press the cookie dough evenly into a greased cast iron skillet. Bake for about 20-25 minutes, or until the edges are golden brown and set, and the center is slightly soft. Allow the cookie to cool for a few minutes before slicing and serving.
Berry Cobbler
Use seasonal berries to make a delicious cast iron berry cobbler that’s perfect for summertime. The buttery topping and juicy berries create a fruity dessert that’s sure to impress. Here’s what you’ll need:
- 4 cups fresh or frozen mixed berries (such as strawberries, blueberries, raspberries, or blackberries)
- 1/2 cup granulated sugar
- 1 tablespoon cornstarch
- 1 cup all-purpose flour
- 1/2 cup granulated sugar
- 1 1/2 teaspoons baking powder
- 1/2 teaspoon salt
- 1/2 cup milk
- 1/4 cup unsalted butter, melted
Preheat your oven to 375°F (190°C). In a mixing bowl, toss together the berries, granulated sugar, and cornstarch until the berries are coated. Spread the berry mixture evenly in a greased cast iron skillet. In a separate bowl, whisk together the flour, granulated sugar, baking powder, salt, milk, and melted butter until smooth.
Pour the batter over the berries in the skillet, spreading it out evenly. Bake for about 35-40 minutes, or until the topping is golden brown and the berries are bubbly.
Let the cobbler cool for a few minutes before serving. Serve warm or at room temperature, with a scoop of vanilla ice cream if desired.
Cast Iron Pan Apple Pie
Nothing says comfort like a homemade apple pie, and baking one in a cast iron pan gives it an extra special touch. The flaky crust and spiced apple filling make for a classic dessert that’s perfect for any occasion. Here’s how to make it:
- 2 pie crusts (homemade or store-bought)
- 6 cups peeled and sliced apples (such as Granny Smith or Honeycrisp)
- 1/2 cup granulated sugar
- 1/4 cup all-purpose flour
- 1 teaspoon ground cinnamon
- 1/4 teaspoon ground nutmeg
- 1/4 teaspoon salt
- 2 tablespoons unsalted butter, diced
- 1 egg, beaten (for egg wash)
- 1 tablespoon granulated sugar (for sprinkling)
Preheat your oven to 400°F (200°C). Roll out one pie crust and place it in the bottom of a greased cast iron skillet, leaving any excess hanging over the edges.
In a mixing bowl, toss together the sliced apples, granulated sugar, flour, cinnamon, nutmeg, and salt until well combined. Pour the apple mixture into the pie crust-lined skillet, spreading it out evenly. Dot the top of the apple filling with the diced butter.
Roll out the second pie crust and place it over the apples. Cut slits in the top crust to allow steam to escape. Trim any excess crust and crimp the edges of the pie. Brush the top crust with the beaten egg and sprinkle with granulated sugar.
Bake for about 45-50 minutes, or until the crust is golden brown and the filling is bubbly. If the crust starts browning too quickly, you can cover it with foil and continue baking.
Let the pie cool before slicing and serving. Serve warm or at room temperature, with a scoop of vanilla ice cream or a dollop of whipped cream if desired.
With these cast iron pan dessert recipes, you can create show-stopping desserts that are as beautiful as they are delicious. Dust off your cast iron pan and get ready to bake up some sweet treats.

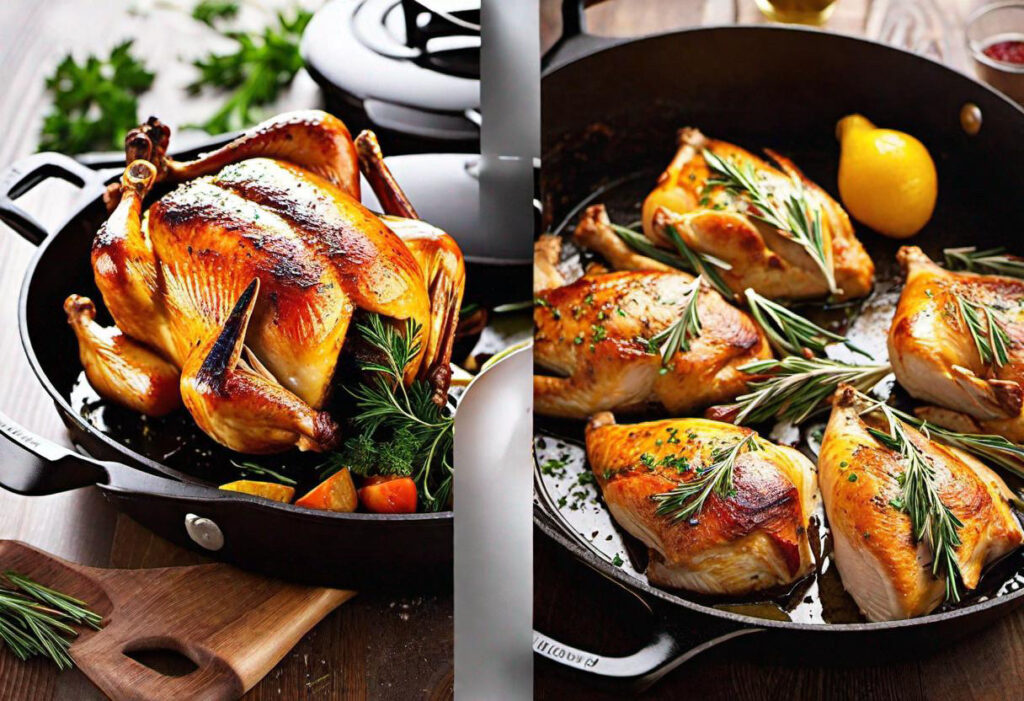
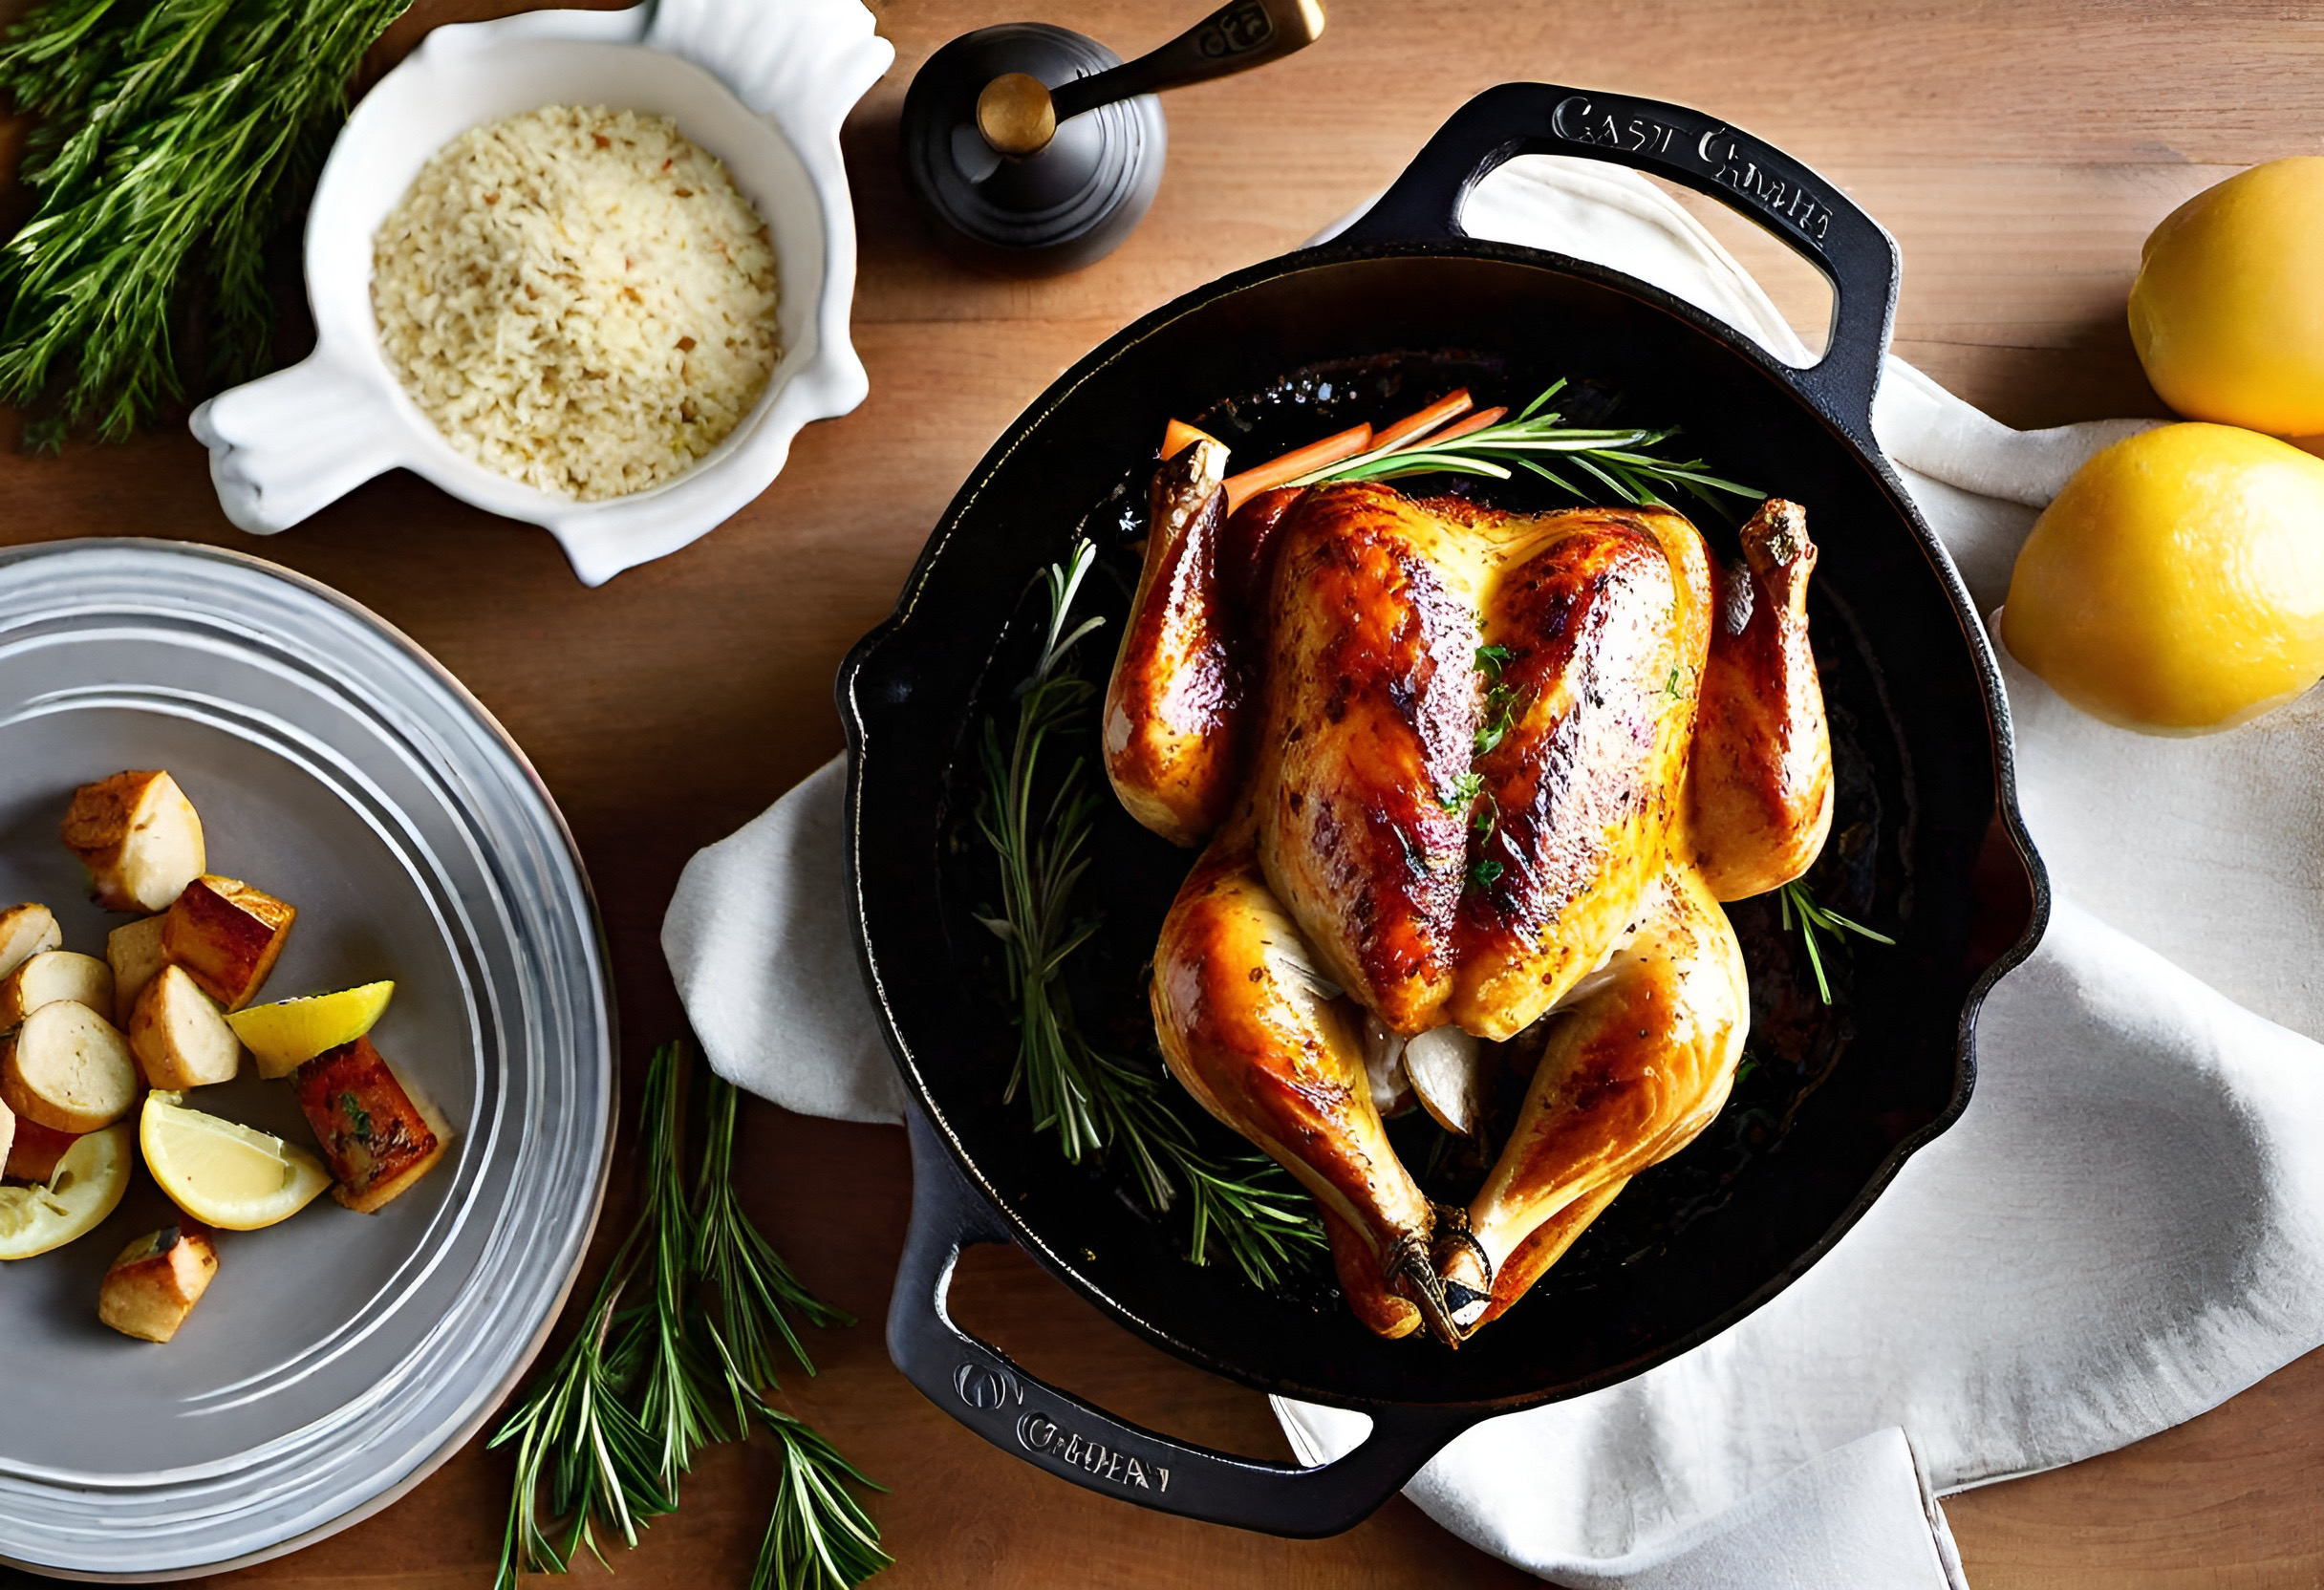
Lodge Cast Iron Roaster
The Lodge Cast Iron Roaster is a versatile piece of cookware that every home cook should have in their kitchen arsenal. With its generous size and excellent heat retention, it’s perfect for roasting large cuts of meat, baking casseroles, and even making lasagna.
Here’s what you need to know about the Lodge Cast Iron Roaster.
Features of the Lodge Cast Iron Roaster
The Lodge Cast Iron Roaster is made from high-quality cast iron, which provides excellent heat distribution and retention. It has two loop handles that make it easy to saily lift and maneuver, even when it’s full of food.
The roaster also comes with a matching cast iron lid, which helps to seal in moisture and flavors while cooking. The lid features a self-basting design, with small bumps on the interior surface that promote the continuous circulation of moisture and juices.
This helps to keep your roasts and other dishes tender and flavorful.
The roaster measures 17 x 10 x 3 inches, making it large enough to accommodate a whole chicken, a beef roast, or a batch of lasagna. It has a capacity of 11.25 quarts, providing plenty of room for your culinary creations.
The cast iron construction ensures even heat distribution, allowing your food to cook evenly throughout.
The sturdy and durable design of the roaster means it can withstand high oven temperatures and is suitable for use on all stovetops, including induction.
FIND OUT THE DEALS BELOW!
How to use the roaster
Using the Lodge Cast Iron Roaster is simple and straightforward. Here’s how:
- Preheat your oven to the desired temperature.
- Season your meat or ingredients as desired.
- Place the roaster on the stovetop over medium heat. Add a small amount of oil or fat to the bottom of the roaster to prevent sticking.
- Once the fat is hot, add your meat or ingredients to the roaster. Sear or brown the meat, if desired, before transferring the roaster to the preheated oven.
- Cover the roaster with the lid and place it in the oven. Allow your food to cook according to your recipe’s instructions.
- Check the internal temperature of your meat or ensure your ingredients are cooked to your desired level of doneness before removing the roaster from the oven.
- Use oven mitts or potholders to carefully remove the roaster from the oven. Be mindful of the hot handles.
- Let your food rest for a few minutes in the roaster before transferring it to a serving dish or cutting board.
It’s important to note that the Lodge Cast Iron Roaster retains heat very well, so use caution when handling it. Always make sure to use oven mitts or potholders to protect your hands and surfaces from burns.
Cleaning and maintenance
Cleaning and maintaining your Lodge Cast Iron Roaster is simple. Follow these steps to keep it in great condition:
- Allow the roaster to cool completely after use before cleaning.
- Rinse the roaster with warm water to remove any residual food.
- Use a brush or sponge to scrub away any stuck-on food. Avoid using harsh scrubbing pads or abrasive cleaners, as they can damage the seasoning of the cast iron.
- If needed, use a small amount of mild dish soap to clean the roaster. Rinse thoroughly.
- Dry the roaster completely. You can air dry it or place it on the stovetop over low heat to evaporate any remaining moisture.
- Once the roaster is dry, use a paper towel or cloth to apply a thin layer of oil to the cooking surface. This helps to maintain the seasoning and prevent rusting.
- Store the roaster in a cool, dry place.
Over time, the cast iron roaster will develop a natural patina from the oil and fats used during cooking. This patina helps to create a non-stick surface and enhances the flavor of your dishes. Avoid using harsh chemicals or scrubbing techniques that can remove or damage the patina.
With proper care and maintenance, your Lodge Cast Iron Roaster will provide you with years of reliable and versatile cooking. Whether you’re roasting a turkey for Thanksgiving or making a comforting casserole for dinner, this roaster is a kitchen essential.
HAPPY COOKING!