Are you tired of cooking with a warped skillet? Today is your lucky day because you can flatten the bottom of your skillet at home. Over time, these versatile cooking tools can become bent and warped, creating an unstable cooking surface. You don’t need a lot of things, just a hard surface, a couple of towels, and a hammer. By following a few easy steps, you can get your skillet back to its original shape in no time. You can make your cooking experience more enjoyable and safe with a perfectly flat cast iron skillet.
How to Flatten the Bottom of a Cast Iron Skillet
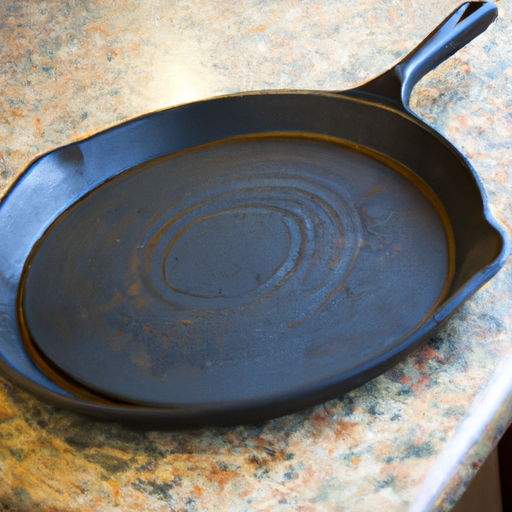
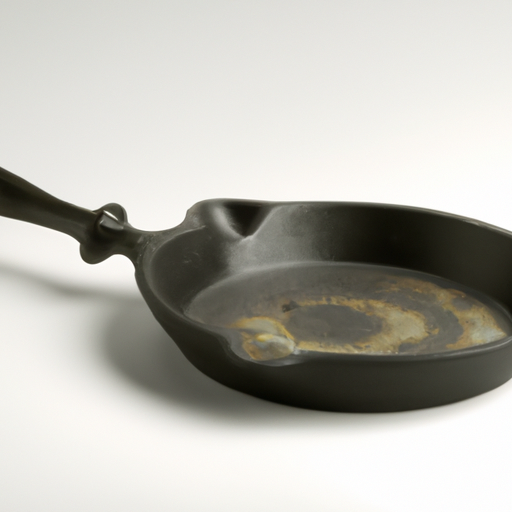
Cast-iron skillets are beloved kitchen tools for their versatility and durability. Whether you’re cooking on a stovetop or over a campfire, a cast-iron skillet can help you prepare a delicious meal. However, through repeated use or mishandling, it’s not uncommon for a cast-iron skillet to become warped or bent, leading to an uneven cooking surface. If you’re experiencing this problem with your skillet, fear not! You can easily flatten the bottom of your cast-iron skillet at home with just a few materials and some simple steps. In this article, we’ll guide you through the process to get your skillet back in shape.
Gather necessary materials
Before you begin the process of flattening the bottom of your cast-iron skillet, it’s essential to gather all the necessary materials. You’ll need a hard, stable surface to work on, such as a concrete floor or workshop table. Additionally, you’ll need two towels, one to protect the surface you’re working on and another to cover the skillet during the hammering process. Finally, make sure to have a hammer on hand, as it will be the primary tool you use to flatten the skillet.
Choose a stable surface
To prevent any further damage to your skillet or surrounding area, it’s crucial to choose a stable surface for the flattening process. A concrete floor or workshop table are excellent options as they can withstand the force of the hammering. However, any surface where scuff marks won’t be an issue works just fine. Once you’ve selected your surface, fold one of your towels in half and lay it down to create a protective barrier.
Protect the surface with towels
To ensure your skillet and the surface you’re working on stay in good condition, it’s essential to protect them with towels. Place your cast-iron skillet bottom side down on top of the towel you laid on the stable surface. This will prevent any damage to the skillet or the surface from the hammering process. After positioning the skillet, place your second towel over it, covering it completely. This additional layer of protection will help prevent any damage to the skillet’s surface.
Place skillet bottom side down
To begin the flattening process, position your cast-iron skillet bottom side down on the towel-covered stable surface. This will expose the warped section of the pan and allow you to focus your efforts on correcting it. By starting with the skillet inverted, you can ensure that the desired side will lie flat once the process is complete.
Begin hammering on the warped section
Now that your skillet is in position, it’s time to start flattening the warped section. Take your hammer and begin gently hammering on the raised or bent area of the skillet. Apply consistent and controlled force to the section, using the hammer to smooth out the unevenness. Depending on the size of the warp, this process may take anywhere from a few minutes to an hour or two. Be patient and focus on gradually straightening out the skillet.
Turn the skillet over and hammer down any areas
Once you’ve addressed the warped section on the bottom, it’s time to check the other side of the skillet. Flip it over, so the bottom is facing up, and inspect for any remaining areas that need flattening. Use the same hammering technique on these sections, applying gentle force and working slowly to correct any bumps or bends. The goal is to create a completely flat cooking surface.
Repeat until skillet lies completely flat
To ensure your iron cast skillet is perfectly flat, repeat the process of flipping it over and hammering out any remaining warped sections. It may take a few rounds of hammering and flipping to achieve the desired results, but the effort will be worth it. Keep working until the bottom of the iron cast skillet lies completely flat on the hard surface and doesn’t wobble when you move it.
Tips f
Heat up the skillet
If you find that the cast iron skillet is especially resistant to the hammering process, try heating it up before hammering. By heating the skillet, you can make the metal more malleable, making it easier to flatten and reshape. However, be sure to wear heat-resistant gloves if the skillet is hot to avoid any burns or injuries.
Wear heat-resistant gloves
Whenever you’re working with hot materials or tools, it’s essential to prioritize safety. When using a heated cast iron skillet or handling hot metal, make sure to wear heat-resistant gloves. These gloves will protect your hands from burns or other injuries that could occur during the flattening process.
Warnings
Do not hammer without towels
It’s crucial to follow the proper precautions when flattening youriron cast skillet. Never hammer directly on the skillet without the protection of towels. Doing so could damage the skillet’s surface or cause unnecessary marks on the floor or work surface. Always ensure that the skillet and the surface you’re working on are adequately protected with towels.
Do not hammer on an uneven or soft surface
When hammering your skillet, it’s essential to choose a stable and hard surface. Avoid working on an uneven or soft surface as it may absorb the force of the hammering or cause the iron cast skillet to become further damaged. A concrete floor or workshop table are suitable options that can withstand the pressure of the hammering process.
References for Cast Iron Skillet
“Don’t Forget the Duct Tape: Tips & Tricks for Repairing & Maintaining Outdoor & Travel Gear” by Kirstin Hostetter, 2007.
This book provides valuable insights and tips for repairing and maintaining outdoor and travel gear.
Resources for Cast Iron Skillet
Richsoil.com: Using a Cast Iron Skillet Ain’t So Hard!
Richsoil.com is a valuable resource for learning about the various uses and benefits of a cast iron skillet. The website provides helpful information that will guide you through using and maintaining your cast iron skillet.

