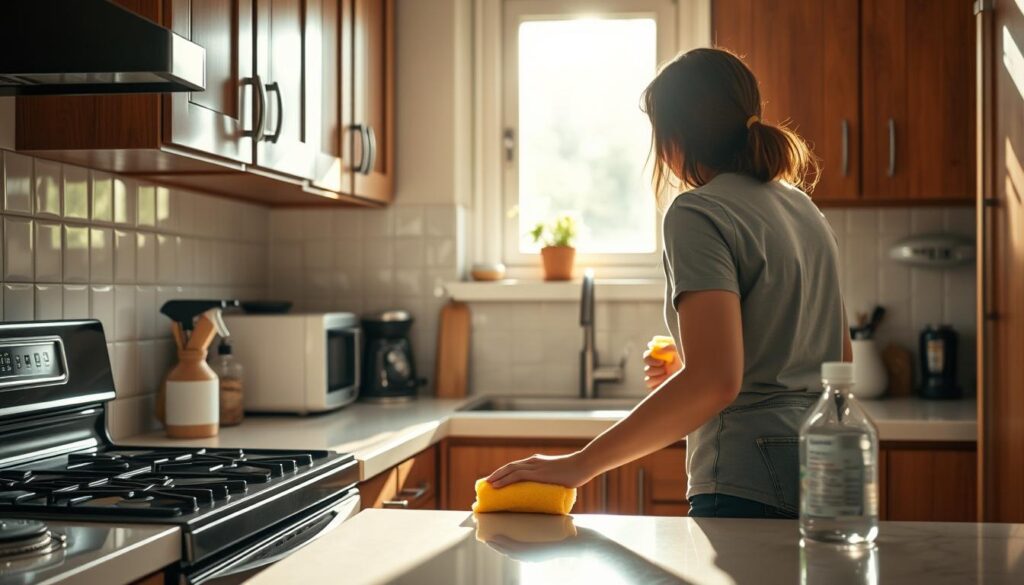
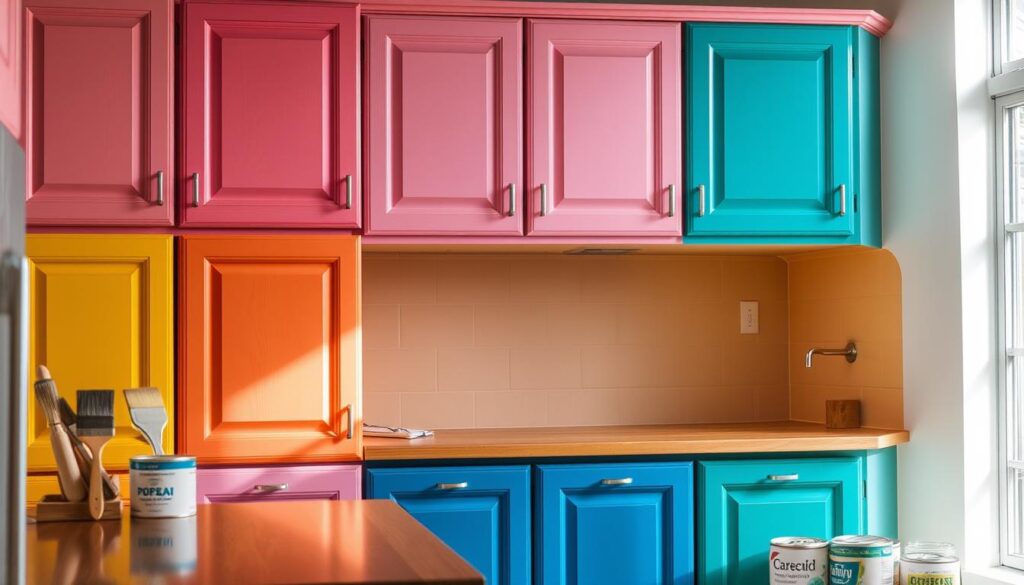
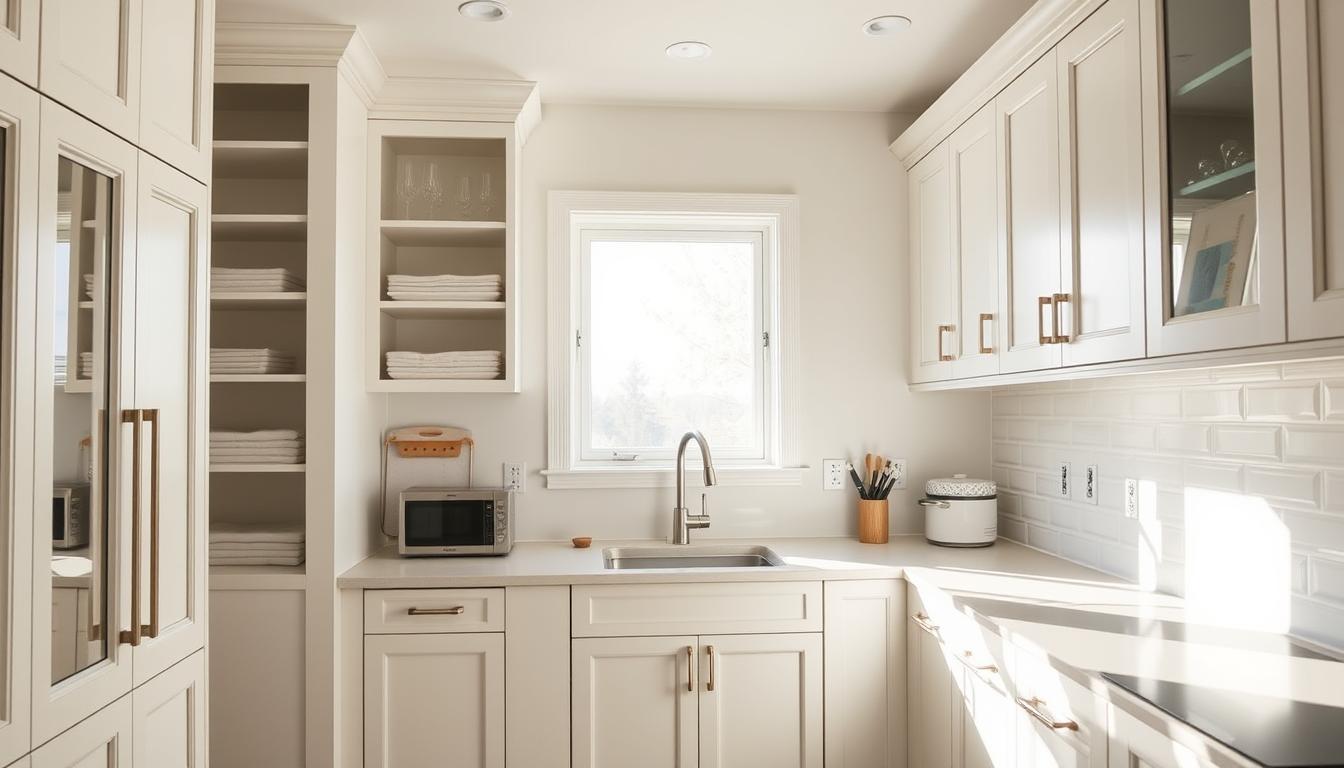
Imagine your kitchen, once dull, now full of life and color. A fresh coat of paint can truly transform it. Painting your cabinets can be a big change, whether you’re on a tight budget or want to make a bold statement. Sarah, a homeowner, recently did this and was amazed by the outcome.
“I was unsure at first, but the cost of professional painting was too high,” Sarah says. “With some hard work and the right methods, I updated my kitchen for just a few hundred dollars. It’s incredible how a simple change can make such a big difference.”
Are you ready to become a DIY cabinet-painting pro? You’re in the right place. This guide will show you how to turn your kitchen cabinets from dull to dazzling. Get ready to work and make your kitchen of your dreams – all while saving a lot of money.
Why Painting Kitchen Cabinets is Worth the Investment
Painting your kitchen cabinets can change the game in renovations. It saves a lot of money compared to replacing them. Plus, it can really boost your home’s value. Many homebuyers see the kitchen as key, and experts say it’s where renovations add the most value.
Cost Comparison: Professional vs DIY Cabinet Painting
Professional cabinet painting costs between $2,000 and $7,000. That’s much less than replacing them, which can cost $4,500 to $25,000. DIY painting is even cheaper, starting at $200 to $775. But, professional painting often gives a better return on investment, up to 100%.
Long-term Value and Home Appeal
Painting your cabinets can also make your home more attractive and valuable. A minor kitchen update, like painting, can return up to 77% of the cost. Certain colors, like gray, can even add $2,500 to your home’s value. A fresh kitchen can sell your home faster and for more money.
In short, painting your kitchen cabinets is a smart move. It saves money, increases your home’s value, and makes your kitchen look great. Whether you do it yourself or hire a pro, the benefits last a long time.
Essential Tools and Materials for Cabinet Painting
To give your kitchen cabinets a fresh look, you need the right tools and materials. Make sure you have these key items before you start painting:
- High-quality painter’s tape for clean edges
- Trisodium phosphate (TSP) degreaser for a deep clean
- Wood filler for fixing imperfections or holes
- Surface cleaner to remove grease and dirt
- Sandpaper or liquid sandpaper for prep
- Primer made for cabinet surfaces
- Paint in your chosen sheen, like semigloss or satin
- A paint sprayer or foam roller for smooth application
- Drop cloths to protect floors and areas around
For the best results, use top-notch cabinet hardware, painting supplies, and cabinet accessories. A paint sprayer can give a pro finish, but a foam roller works well too. Pick paints made for cabinets for durability and to last through daily use.
With the right tools and materials, you’re ready to make your kitchen cabinets a beautiful highlight of your home.
Evaluating Your Cabinet Condition Before Starting
Before starting your kitchen cabinet painting project, it’s important to check your cabinets’ condition. This step helps you decide the best approach and ensures success. We’ll look at cabinet materials that can be painted and any repairs needed.
Types of Cabinet Materials Suitable for Painting
Many cabinet materials can be painted, including wood, laminate, veneer, fiberboard, and metal. But, plastic laminate and thermofoil might need special paints and methods for a good finish.
Identifying Damage and Necessary Repairs
Look for damage or wear on your cabinets. Small issues like chips or cracks can be fixed with wood filler. But, bigger problems like peeling veneer or warped wood might mean replacing doors and drawer fronts. If you’re not sure about painting your cabinets, test a small area or get a pro’s opinion.
“About 70% of kitchen cabinets show wear and tear, like chipped paint, scratches, and dents. Refinishing is cheaper than replacing, with about 60% of owners choosing to refinish.”
By checking your cabinets’ condition and fixing any damage, you’re ready for a successful painting project. This will give your kitchen a fresh look and boost its appeal.
Proper Kitchen and Workspace Preparation
Before starting your cabinet painting project, it’s important to prepare your kitchen and workspace. First, empty your kitchen cabinets and clear the countertops. This makes a clean space for painting.
Dust and wipe down all surfaces, like the backsplash, countertops, and floors. This ensures your workspace is spotless. Cover the backsplash, counters, and floors with builder’s paper or plastic tarps to protect them from paint.
Then, set up a well-ventilated area outside the kitchen for painting. This could be a garage or basement. Use sawhorses and two-by-fours to create a paint station with all your tools. Make sure to use fans and keep windows open for three days to help the paint dry properly.
By thoroughly preparing your kitchen and workspace, you’ll make your cabinet painting project go smoothly. This way, you won’t disrupt your daily routine and will get great results. Remember, proper kitchen organization and workspace setup are key for a successful painting job.
Removing and Organizing Cabinet Hardware
Before you start painting, remove all cabinet doors, drawers, and hardware. This lets you paint every surface smoothly. Use a drill or screwdriver to take out each piece. Number the doors and drawers to make putting them back easier later.
Labeling System for Easy Reassembly
Make a labeling system to keep track of cabinet parts. Write numbers on the holes or use small labels. This makes reassembling everything quick and easy after painting.
Hardware Storage Tips
- Use strong, labeled containers or bags for your cabinet hardware.
- Sort hardware by type, like hinges and knobs, to make reassembly easier.
- Keep kitchen accessories and organization systems safe and dry during painting.
Properly removing and storing cabinet hardware is key to a perfect finish. By carefully disassembling and labeling, you’ll easily put everything back once painted. This will give your kitchen a professional look.
| Hardware Specifications | Details |
|---|---|
| Drill Bit Size | 3/16 inch |
| Screw Size | 8/32 inch |
| Cabinet Pull Size | 3-3/4 inches center-to-center (most common) |
| Hardware Placement | 1/3 rule (1/3 the height of doors or 1/3 the length of drawers) |
| Screw Quantity | 2 screws per cabinet hardware piece |
Surface Preparation and Cleaning Techniques
Getting your kitchen cabinets ready for paint is key. You need to clean and prepare the surface well. Start by using a degreaser or liquid deglosser to remove dirt and grease.
Then, sand the surfaces with 120- to 220-grit sandpaper. This makes the surface smooth for painting. For very glossy surfaces, use 150-grit sandpaper. Use sanding sponges for detailed areas. After sanding, clean off dust with a tack cloth or damp rag.
“Wiping down exterior surfaces of kitchen cabinets weekly is recommended to prevent buildup.”
Keeping your cabinets clean is important. Americans spend a lot of time on housework, like cleaning. Adding cabinet cleaning to your routine can make your home cleaner.
- Deep clean surfaces every three to six months
- Clean handles and knobs bi-weekly to reduce germ transfer
- Avoid using abrasive scrubbers on delicate surfaces to prevent damage
- Thoroughly dry the cabinets after cleaning to prevent water damage
- Test cleaning products in an inconspicuous area before applying to the entire surface
By following these cabinet cleaning, surface preparation, and painting techniques, you’ll get a professional finish for your kitchen cabinets.

Choosing the Right Paint and Primer for Kitchen Cabinets
Choosing the right paint and primer is key for a lasting, professional look on your kitchen cabinets. You’ll need to think about finishes, paint types, and color trends.
Different Paint Types and Finishes
For your kitchen cabinets, pick a durable, high-quality paint. Enamel-based or latex paints with a gloss or semi-gloss finish are great. They last long and look smooth.
Think about self-leveling paints too. They help your paint look smooth and even.
There are two main paint types: acrylic (water-based) and alkyd (oil-based). Acrylic paints are easier to use and clean up. They also have fewer harmful chemicals. Alkyd paints last longer but take longer to dry and have more chemicals.
Color Selection Guidelines
Choosing the right color can change your kitchen. White is classic, but you can also try green, retro pink, oxblood red, and neutral tones. Make sure to test colors under different lights to find the perfect match.
For a great paint job, use the right primer and paint. Get a stain-blocking, oil-based bonding primer that matches your top coat for the best results.
Professional Painting Methods and Techniques
To make your kitchen cabinets look like they belong in a showroom, you need more than just paint and a brush. Professional painters use special techniques to get that perfect, flawless look. From applying primer to adding a glossy topcoat, every step is important for a top-notch finish.
Experts say to use a high-density foam roller or a professional-grade paintbrush for priming. This helps avoid brush strokes or roller marks that can ruin the look. For painting, a mix of brushing and rolling works best. Brushes are good for small areas and hard spots, while foam rollers smooth out bigger surfaces.
For a truly professional finish, think about using a paint sprayer. It gives a smooth, flawless look without any brush strokes or roller marks. But, using a sprayer needs skill and practice to get it right. You have to control the pressure, distance, and speed of the sprayer.
| Common DIY Cabinet Painting Mistakes | Professional Painting Techniques |
|---|---|
|
|
When using self-leveling paint, work in small sections for a smooth finish. Apply thin, even coats without over-brushing or over-rolling. This avoids imperfections. Paint the longest pieces last to prevent crossed brushstrokes.
By following these professional painting methods, you can turn your kitchen cabinets into a masterpiece. Whether you do it yourself or hire a pro, knowing the key steps will give you a stunning result. This will impress your guests and boost your home’s value.
Drying Time and Multiple Coat Applications
Getting a professional finish on your kitchen cabinets takes patience and detail. It’s key to let each coat dry fully before adding the next. The drying time depends on the paint type and your workspace conditions.
Optimal Conditions for Paint Curing
For the best results, paint in a well-ventilated area. Keep the room at 72 degrees Fahrenheit and humidity between 40-50%. Fans can help speed up drying by improving airflow.
Between-Coat Procedures
After the first coat dries, lightly sand with fine-grit sandpaper (220-240 grit). This smooths out brush strokes and imperfections. Clean the surface well before applying the next coat.
For the best look, apply at least two coats of paint drying on your cabinets. You might need a third coat, depending on the color and finish you want. Always follow the paint’s drying and curing times between coats.
| Paint Type | Dry to Touch | Recoat Time | Full Cure Time |
|---|---|---|---|
| Water-based Latex | 1 hour | 2-4 hours | 7-30 days |
| Oil-based | 6-8 hours | 24 hours | 7-30 days |
By following these multiple coats guidelines and preparing your workspace well, you’ll get a flawless finish. Your kitchen cabinets will look new for years.

Cabinet Hardware Installation and Reassembly
Now that your kitchen cabinets are painted and dry, it’s time to put back the hardware. This step is key for a professional look and to keep your cabinets in good shape. Follow these steps to attach your cabinet pulls, hinges, and other accessories smoothly and nicely.
Reattaching Cabinet Hardware
Start by putting back your cabinet drawer pulls and hinges. Use the labels you made to place doors and drawers right. If the hardware was painted, let it dry and apply a clear coat for protection. Clean the hardware before putting it back. For painted hardware, place it up during painting to get full coverage.
Reinstalling Shelves and Drawers
Slide the drawers back in gently to avoid scratching the paint. Put the shelves back, making sure they fit well. This step needs care to keep your cabinets looking new.
| Tip | Description |
|---|---|
| Hardware Templates | A template for installing cabinet hardware can cost under $5 on Amazon, ensuring accurate placement of knobs and pulls. |
| Durable Tools | A wood awl, available on Amazon, can last over 10 years for cabinet hardware installation and adjustments. |
| Covering Old Holes | Hundreds of backplate options are available to cover old holes or damaged surfaces when switching from pulls to knobs or vice versa. |
By following these steps, you’ll be able to seamlessly reinstall your cabinet hardware, cabinet installation, and kitchen accessories. This will give you a professional-grade finish and keep your kitchen looking great for years.
Expert Tips for Long-Lasting Results
To get a top-notch finish on your kitchen cabinets, follow some expert tips. First, be patient and let the paint dry completely before using the cabinets a lot. This usually takes 2-4 weeks, depending on the paint type.
For a smooth finish, use high-quality brushes and rollers. A paint conditioner can also reduce brush marks. Apply a clear topcoat on busy spots like doors and drawers for extra protection.
Keeping your cabinets clean is crucial for their look and life. Use a mild soap and a soft cloth to clean them every few weeks. This stops grease and grime from dulling the paint.
If you notice chips or scratches, fix them right away. Touch up the spots quickly to keep the look even. Don’t hang heavy things on new cabinet doors for weeks to let the paint cure.
“The key to long-lasting cabinet paint is attention to detail and diligent maintenance. Following these expert tips will ensure your kitchen looks beautiful for years to come.”
By sticking to these cabinet maintenance, paint durability, and kitchen care tips, your cabinet painting will last for years.
Conclusion
Painting your kitchen cabinets is a rewarding DIY project. It can change the whole look and feel of your kitchen. It takes time, patience, and detail, but it’s worth it for the savings and satisfaction.
With the right prep, quality materials, and technique, you can get professional results. These results can boost your home’s value and function.
A kitchen makeover through painting cabinets is practical and creative. You can pick the perfect paint color, finish, and hardware. This way, your kitchen shows off your style and taste.
This DIY project brings new life to your kitchen. It makes a space you’ll enjoy being in.
If you’re up for the challenge of cabinet transformation, follow this article’s steps. With effort and detail, your kitchen will become stunning and welcoming. It will impress your neighbors and guests.
Source Links
- How to Paint Your Kitchen Cabinets Like a Pro – https://www.elledecor.com/home-remodeling-renovating/home-renovation/a40528807/how-to-paint-kitchen-cabinets/
- How to Paint Kitchen Cabinets Like a Pro in 10 Simple Steps – https://www.architecturaldigest.com/story/how-to-paint-kitchen-cabinets
- How Painting Kitchen Cabinets Can Increase Your Home Value – https://www.kitchencabinetdepot.com/blog/painting-kitchen-cabinets.html?srsltid=AfmBOopkb8nsJBFN1rizTDDxLLYpaoxv0QLRT2pXgyf5PEKJ7hPgfCZO
- Does Painting Cabinets Increase Your Home’s Value? — Singletrack Painting – https://www.singletrackpainting.com/blog/does-painting-cabinets-increase-home-value
- The Complete List of Supplies Needed to Paint Cabinets – https://averageinspired.com/2021/02/supplies-needed-to-paint-cabinets.html
- How to Paint Cabinets: What brush and roller should I use? – https://www.thehandcraftedhaven.com/how-to-paint-cabinets/
- How to Paint Kitchen Cabinets – https://www.sherwin-williams.com/en-us/project-center/paint/how-to-update-kitchen-cabinets
- Quick Guide: Restoring Kitchen Cabinets – Mr. Cabinet Care – https://www.mrcabinetcare.com/quick-guide-restoring-kitchen-cabinets/
- How To Decide Whether You Need New Kitchen Cabinets – Tops Countertops – https://topscountertops.com/decide-whether-you-need-new-kitchen-cabinets/
- How to Assess Cabinet Condition Before Painting – https://www.allamericanpaintingplus.com/how-to-assess-cabinet-condition-before-painting/
- How to Organize Your Kitchen into Work-Friendly Zones – https://thecrownedgoat.com/how-to-organize-your-kitchen-into-work-friendly-zones/
- Must-See Kitchen Workstation Ideas – https://www.bhg.com/kitchen/layout/kitchen-workstation-ideas/
- How to Create the Most Efficient Kitchen Layout | Cook Smarts – https://www.cooksmarts.com/articles/renovation-how-to-create-efficient-kitchen-layout/
- How to Install Cabinet Hardware the Easy Way – https://justagirlandherblog.com/kitchen-cabinet-hardware/
- How to Install Drawer Pulls and Cabinet Knobs – https://www.lowes.com/n/how-to/install-cabinet-pulls
- How to Install Cabinet Handles – https://www.homedepot.com/c/ah/how-to-install-cabinet-handles/9ba683603be9fa5395fab90923ca0b8
- How To Clean Kitchen Cabinets – https://www.thisoldhouse.com/cabinets/22221146/clean-kitchen-cabinets
- Tips for Cleaning Your Kitchen Cabinets: The Do’s and Don’ts – https://hollandscustomcabinets.com/tips-for-cleaning-kitchen-cabinets-the-dos-and-donts/
- Best Paint for Cabinets for a Factory Smooth Finish – Stefana Silber – https://stefanasilber.com/best-paint-for-cabinets/
- The Best Types of Paint for Kitchen Cabinets – https://www.thespruce.com/types-of-paint-for-kitchen-cabinets-4686963
- Painting Cabinets – How the Pros Do It – Paper Moon Painting – https://papermoonpainting.com/painting-cabinets-how-the-pros-do-it/
- How to paint cabinets like a pro – Jenna Sue Design – https://www.jennasuedesign.com/how-to-paint-cabinets-like-a-pro/
- How Long to Wait Between Coats of Paint – https://www.thespruce.com/wait-between-coats-of-paint-4770225
- How many coats of paint for kitchen cabinets? – https://clairedouglasstyling.co.uk/post/how-many-coats-of-paint-for-kitchen-cabinets
- Our Step by Step Guide to Painting Kitchen Cabinets – http://www.ringaroundtherubins.com/2020/06/step-by-step-how-i-paint-cabinets.html
- How to Install Cabinet Hardware – https://www.familyhandyman.com/list/how-to-install-cabinet-hardware/?srsltid=AfmBOoqb5xoQNr3Af7fSgqt_mU6OJ2iH-RRwC2KIF8irqaLr-bAkCLpr
- Cabinetry Hardware Placement Guide (With Examples) – https://roomfortuesday.com/cabinetry-hardware-placement-guide-with-easy-examples/
- How to Install Inset Cabinet Hardware – https://www.cabinetjoint.com/video-library/how-to-install-inset-cabinet-hardware/
- Kitchen Cabinets: Expert Tips for Style and Functionality — Multi Trade Building Services – https://www.multitradebuildingservices.com/news/kitchen-cabinets-expert-tips-for-style-and-functionality
- Handy Tips for Long-Lasting Kitchen Cabinets – https://blog.kitchenmagic.com/blog/how-do-i-maintain-my-refaced-cabinets-to-keep-them-like-new
- Expert Tips To Restore Kitchen Cabinets Like a Pro – Southwest Kitchen – https://southwestkitchen.com/how-to-restore-your-kitchen-cabinets-like-a-pro/
- Kitchen Cabinets: An Essential Part to Every Remodel – https://www.flipperswarehouse.com/blog/kitchen-cabinets-an-essential-part-to-every-remodel
- The Evolution of Kitchen Cabinets: From Traditional to Modern Designs – https://www.desotofloors.com/blog/articles/the-evolution-of-kitchen-cabinets-from-traditional-to-modern-designs
- 10 Key Factors to Consider for the Perfect Kitchen Cabinets – https://www.spokanecabinetsplus.com/blog/post/selecting-perfect-kitchen-cabinets

