Your kitchen is the heart of your home. It deserves a style update that shows off your personal taste. But, who has the time or money for fancy window treatments? DIY kitchen window coverings are stylish, affordable, and can be made in just a weekend.
Amy, a busy mom, had been waiting years to update her kitchen windows. She was tired of the dull, standard blinds. But, after finding some creative DIY ideas, she decided to take action.
Amy measured her windows and looked for discounted tea towels at HomeGoods. She hemmed them, used a tension rod, and added curtain clips. This turned her kitchen towels into charming cafe-style curtains. “It was a simple project, but it changed my kitchen’s look and feel,” Amy said.
Amy’s story shows how easy and cheap it is to make your kitchen windows stylish. In this article, we’ll look at 10 DIY window covering ideas for a weekend. You’ll use affordable materials and don’t need to be a pro. Say goodbye to dull blinds and hello to custom window treatments that show off your style.
Key Takeaways
- DIY kitchen window treatments offer a budget-friendly way to update your space
- Weekend projects like cafe curtains and painted roller shades can add instant style
- No-sew and easy-to-install options make these projects accessible for all skill levels
- Repurposed materials like tea towels and thrifted sheets can be transformed into custom window coverings
- Incorporating plants, patterns, and personal touches can elevate the look of your DIY kitchen windows
Why Your Kitchen Windows Need a Style Update
Your kitchen windows are more than just openings. They’re key to your home’s look. Custom window treatments can make your kitchen stylish and personal. They improve light control and privacy, making a big difference.
Benefits of Custom Window Treatments
Customizing your kitchen windows has many benefits. Custom window treatments let you control light perfectly. They also offer great privacy, keeping your kitchen inviting.
Understanding Light Control and Privacy Needs
Choosing the right window coverings depends on your needs. Do you want a bright kitchen or a cozy one? Your preferences and kitchen use will help pick the best treatment.
“The right window coverings can truly transform the ambiance of your kitchen, enhancing both style and functionality.”
Whether you choose blinds, draperies, or both, custom treatments can upgrade your kitchen. They make your space reflect your style and meet your needs.
Essential Tools and Materials for DIY Window Projects
When you start a DIY window project, having the right tools and materials is key. You’ll need fabric, no-sew supplies, and essential hardware. Let’s look at what you need to make your own stylish window coverings.
Fabric is the base of any DIY window treatment. You can choose from solid colors or bold patterns. For a no-sew look, use fusible tape to make clean hems.
You’ll need sharp scissors for cutting fabric and an iron for pressing. Painters tape helps with straight lines for designs. For no-sew projects, heavy-duty Heat N Bond is essential.
- Fabric
- Fusible tape
- Scissors
- Iron
- Painters tape
- Fabric paint
- Dowels
- Tension rods
- Staple gun
You might also need dowels for roller shades, tension rods for curtains, and a staple gun for installations. For bigger projects like bamboo blinds or shutters, you’ll need wood, screws, and a drill.
With these DIY tools and window treatment materials, you’re ready to transform your kitchen windows. You can make your own custom no-sew supplies.
Creative Painted Roller Shade Designs
Give your kitchen windows a fresh look with custom painted roller shades. This DIY project is easy on the wallet and lets you turn simple shades into stunning features. You can go for bold stripes or cool graffiti patterns. Let’s explore three fun DIY shade designs using fabric paint techniques.
Border Stripe Technique
For a modern vibe, try a border stripe design. Measure and mark where you want your stripes. Use painter’s tape to guide your paint, then apply coats of your favorite colors. Remove the tape while wet for sharp lines.
Graffiti-Style Patterns
Get a playful, urban vibe with graffiti-style shades. Skip the tape and use a spray can to draw free lines. Play with paint thickness and colors for a unique look.
Chevron Pattern Tutorial
Make a striking chevron pattern by marking triangle shapes with a framing square. Apply tape along the angles, then paint in segments. Remove the tape while wet for crisp points.
With some creativity and fabric paint, you can turn plain shades into eye-catching DIY shade designs. The possibilities are endless – let your creativity flow!
No-Sew Roman Shade Solutions
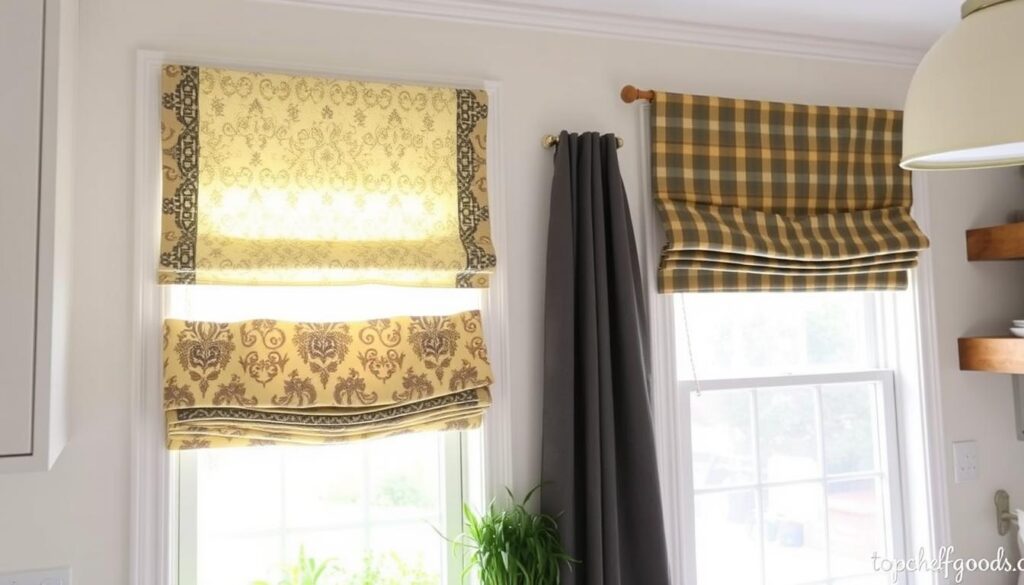
Give your kitchen a chic look with a no-sew Roman shade. You’ll need fabric, scissors, an iron, hemming tape, tension rods, and a tape measure. This DIY project can be done in under an hour, making it quick and easy.
First, measure your window’s width and add 2 inches. Cut your fabric to this size. Use hemming tape and an iron to hem the edges neatly, without sewing. Then, hang your shade with tension rods for a traditional look.
This no-sew solution is all about style. The author chose navy stripe fabric for a classic look that matches white subway tile backsplashes. It’s a budget-friendly way to add style to your kitchen without sewing skills.
Unlike real Roman shades, these faux ones stay put, saving you from constant adjustments. This DIY project takes just 2 hours, making it a smart choice for budget-friendly decor. Say hello to stylish kitchen windows without the high cost of custom shades.

| Estimated Cost of Custom Roman Shades | Estimated Time to Complete No-Sew Shade |
|---|---|
| $250 – $1,500+ | 2 hours |
The secret to this no-sew shade is tension rods and iron-on hemming tape. It’s a DIY dream for kitchen window treatments. Whether you’re redoing your kitchen or just want a refresh, this easy guide will help you style your home with little effort.
Custom Bamboo Blind Transformations
Bamboo blinds are great for kitchen windows because they look natural and control light and privacy. But what if your windows are not standard sizes? No worries! You can easily make bamboo blinds fit your windows with a few simple tools and techniques.
Sizing and Cutting Tips
You’ll need permanent adhesive glue, a utility knife, and a permanent marker to start. First, measure your window and compare it to the bamboo blind’s size. If it’s too wide, mark where to cut it down with the marker.
Then, score the blind with the utility knife along the line and cut it slowly. Apply a thin line of glue to the edges to stop fraying.
Installation Guidelines
- For a no-drill setup, use tension rods that fit snugly inside the window frame.
- If you want a mounted look, follow the manufacturer’s instructions to attach the blind to the wall.
- Adjust the cord or wand for smooth, even blind operation.
With a few easy steps, you can turn standard bamboo blinds into custom ones that fit your custom window sizes perfectly. They’ll match your kitchen’s style. For a smooth DIY blind installation, measure well and follow the guidelines carefully.
DIY Kitchen Window Coverings on a Budget
Updating your kitchen windows doesn’t have to cost a lot. With some creativity and affordable materials, you can make your space look great. Whether you want a farmhouse vibe or something modern, these budget-friendly ideas will help.
Begin by using items like tea towels or scarves as affordable window curtains. These materials are cheap and add a personal touch. For a chic look, try repurposing old leather belts to hang fabric panels with a rustic feel.
Also, think about using upcycled materials. Old fabric can become stylish no-sew valances. You can also paint or add fabric to bamboo blinds for a new look. The options for cost-effective DIY kitchen window coverings are endless.
| Affordable Window Treatment Idea | Estimated Cost |
|---|---|
| Tea Towel Curtains | $10-$20 |
| Repurposed Leather Belt Panels | $5-$15 |
| No-Sew Valance from Scrap Fabric | $3-$8 |
| Painted Bamboo Blinds | $20-$40 |
With a bit of creativity and these budget-friendly ideas, you can make affordable window treatments that match your kitchen’s style. Get ready to enjoy a beautiful space that’s also budget-friendly.
Farmhouse-Style Window Shutters
Give your kitchen a charming farmhouse look with DIY shutters. This weekend project can make your space look better. Choose lumber that matches your decor first. Then, follow simple steps to make shutters that fit your windows perfectly.
Material Selection
For your shutters, pick wood that looks rustic and weathered. Reclaimed barnwood, cedar, or pine are good choices. Measure your windows to get the right size. Use materials that won’t get damaged by moisture in wet areas.
Step-by-Step Construction
- Cut the wood to size using a miter saw or handsaw.
- Assemble the shutter frame by screwing the pieces together, creating a sturdy structure.
- Fill any visible holes or imperfections with wood filler, then sand the surface smooth.
- Attach hinges and other hardware, like shutter dogs or s-hooks, to complete the look.
After making your shutters, add them to your windows with rustic curtains or valances. You can also distress the wood or paint it for a unique look.
“The total cost to make these farmhouse-style shutters for my bathroom was less than $25. I found the old barnwood through local sources, which made this project even more budget-friendly.”
With a bit of time and effort, you can turn your kitchen windows into a cozy farmhouse oasis. You’ll love the feeling of making beautiful, custom shutters that match your rustic decor.
Creative Cafe Curtain Upgrades
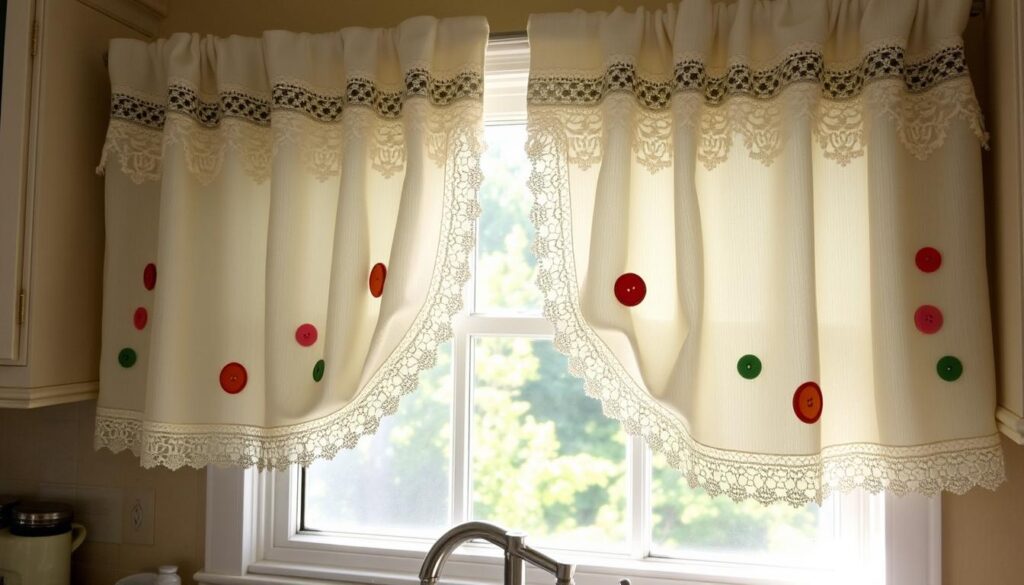
If your kitchen feels a bit dull or too industrial, upgrading your cafe curtains might be the answer. These window treatments are great for kitchens because they offer privacy and let in natural light. But why stick with plain curtains when you can add some flair with simple embellishments?
Adding tassels, pom-poms, or decorative trim can give your curtains a stylish touch. You can attach these with a hot glue gun, turning plain curtains into a unique feature. For a hassle-free option, use fusible tape to add fabric strips to your curtains.
Match the fabric and trim with your kitchen’s decor for a unified look. Design experts say about 60% of kitchens can benefit from fabric and trim updates. Whether you choose a bold pattern or a subtle accent, these changes can make a big difference without costing much.
With cafe curtain panels at $24.99 and tension rods starting at $2.99, this project is affordable. You can even reuse materials, like IKEA hemming strips or spray-painted tension rods, to save money.
Looking for a quick way to spice up your kitchen? Try upgrading your cafe curtains. With a bit of creativity and some simple embellishments, you can turn your kitchen into a unique space.

“Cafe curtains are a great option for kitchens, providing privacy while still allowing natural light to filter in. And the ability to get creative with fabric and trim makes them a versatile choice that can really elevate the space.”
Unique Fabric Treatment Ideas
Want to make your kitchen windows pop? Try these cool fabric treatment ideas. They add style and flair to your space. Options like Shibori dyeing and vintage belt hanging will make your windows stand out.
Shibori Dyeing Technique
Shibori dyeing comes from Japan and creates unique patterns. To do it at home, fold or twist fabric before dyeing it indigo. This makes cool designs that are all your own. Try it with curtains or valances to show off your creativity.
Vintage Belt Hanging Method
Give your kitchen windows a rustic look with vintage belt hanging. Use old leather belts on a dowel rod with tacks. It’s a unique way to add warmth and character. Try different belts to match your kitchen’s style.
| Fabric Treatment Idea | Percentage |
|---|---|
| Complementary Patterns | 20% |
| Height-Accentuating Treatments | 15% |
| Striped Roman Shades | 10% |
| Luxurious Gold Valances | 10% |
| Floor-Grazing Curtains | 10% |
| Furniture-Matching Shades | 10% |
| Café Curtains | 5% |
| Lemon Ombré Curtains | 5% |
| Mint Green Curtains | 5% |
| Variegated Valances | 5% |
| Sunny Floor-Grazing Curtains | 5% |
| Gauzy and Casual Curtains | 5% |
| Geometric and Floor-Grazing Curtains | 5% |
| Prettily Patterned Roman Shades | 5% |
There are many ways to make your kitchen windows special. Choose Shibori dyeing or vintage belt hanging for a unique look. Your kitchen will surely be the talk of the town.
Quick Valance and Tieback Projects
Looking to style your kitchen windows quickly? Try these easy DIY valance and tieback projects. Start by wrapping fabric around a 2×4 cut to fit your window. Then, staple it in place for a neat finish. For a simpler option, use fusible tape to create a loop at the top and a faux hem at the bottom.
Make unique curtain tiebacks by attaching decorative coasters to metal holdbacks with epoxy. This creative fix adds a personal touch to your windows. Choose from wooden beads, rose vines, fabric bows, or star-shaped ribbons to give your kitchen a fresh look in just a weekend.
These projects are all about being flexible. Try out different materials, colors, and textures to match your kitchen’s style. With a bit of creativity, you can enhance your window decor without spending a lot of time or money.

